SOOOOOOO, yea. I ain’t gonna lie to you chief. This was one of the hardest yet most interesting assignment to me. I believe i got the operating system working on the raspberry Pi, however. I have no idea if i did. I don’t have a monitor laying around nor do i have the proper cords to check it. Unfortunately, since i don’t have all the materials, i couldn’t really do anything i wanted to do. When you first gave this assignment, my mind went straight into a CCTV network for my apartment. I wanted to go out and buy a couple of cameras and set up the Pi to record and livestream the CCTV to a website i would make that i only have access to. I had big ambitions for this project but i couldn’t find the time to get around doing it. I had other classes and work and my busy lifestyle just couldn’t find the time to do everything for this assignment. I promise for sure to get around to do it. And if it helps, and if you’re interested if i did manage to get it working, i can send you some pictures and video later (obviously it won’t count for this assignment but if your actually interested to see if i can do it i guess? IDK) but yea. Here’s a picture of the Pi with the operating system inside the SD card and i guess heres a couple of pictures of my two dogs and my interpretation of what Obi looks like the way you describe him in class. I hope i can at least make you smile so you reading this won’t be a waste of time for you lol. Thank you for a fantastic semester and i wish you the best! -Love Nick


Journal Entry 13 – 3D Printing Finale
Here she is, in all her glory. My very own Cord Organizer. Luckily, i’m very good at following directions and getting the correct measurements so i only had to print this bad boy out once. It fits the bar perfectly and snuggles right in there for a tight fit. The opening is big enough for many cords and for the head of the cords to squeeze through. I’m very proud of myself for creating something that helps me out.

Journal Entry 12 – VR
My partner (Scott Early) and created a parkour VR game from scratch using Unity. My partner basically did do about 90% of the project, i was there to support him and help him along so he does get most of the credit for sure. Everything you need is in his blog post.
Link to Scott’s Blog Post: https://scottstots.home.blog/2019/08/01/virtual-reality/comment-page-1/#comment-2
Journal Entry 10
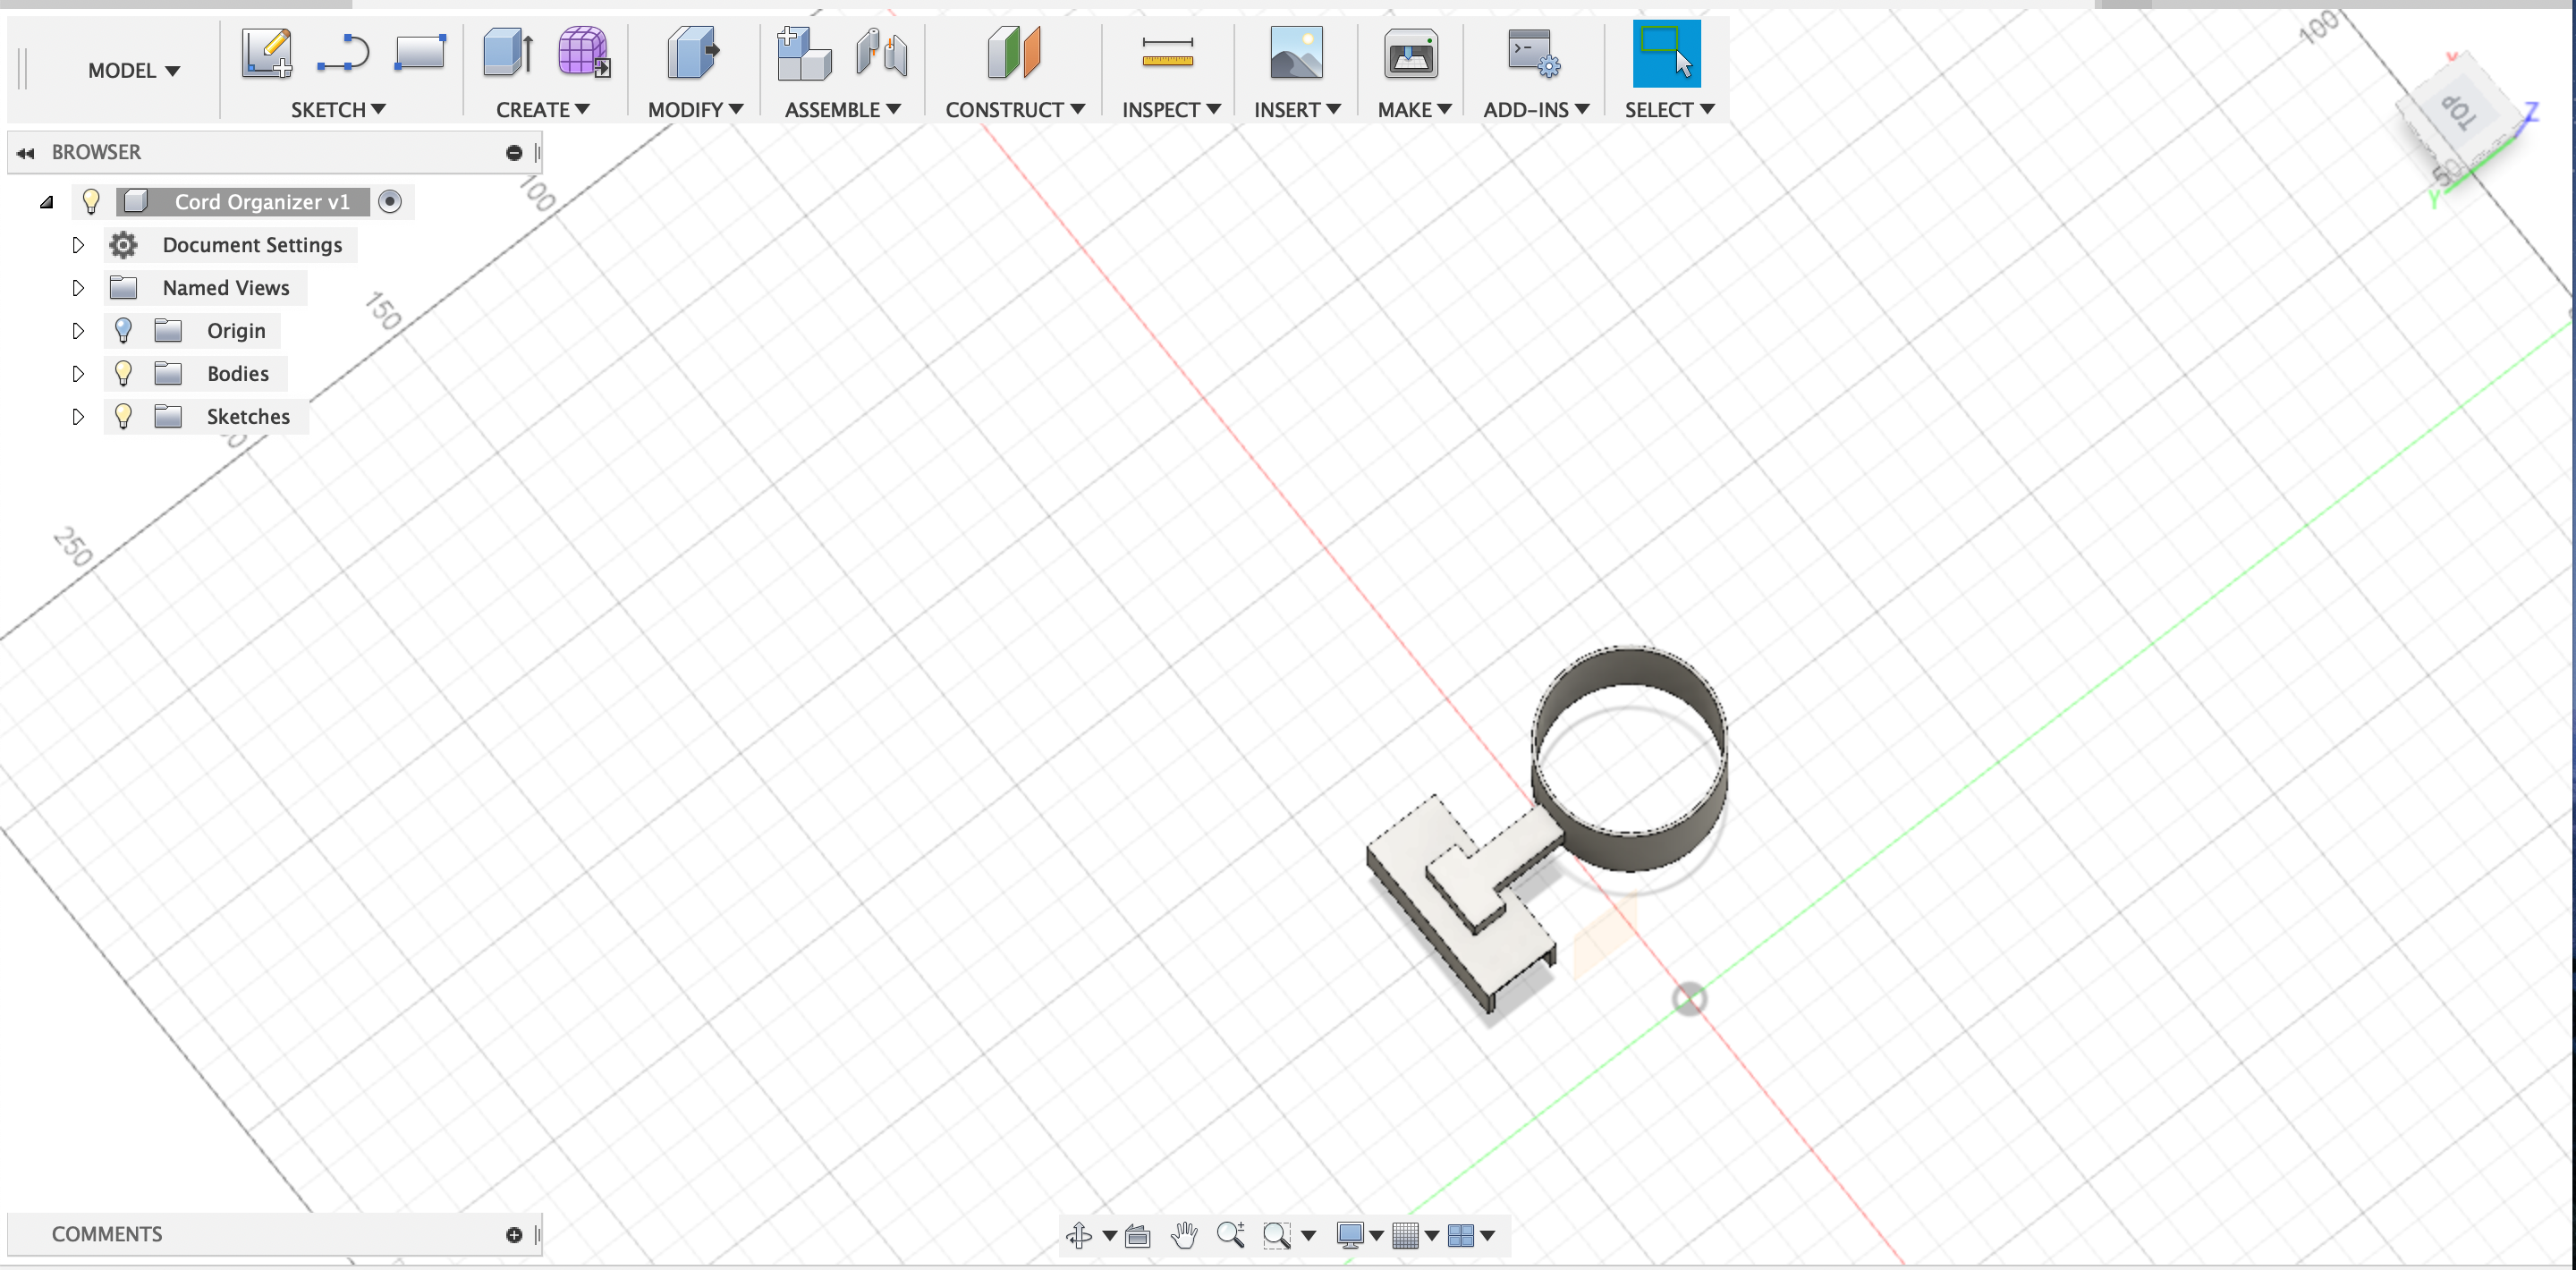
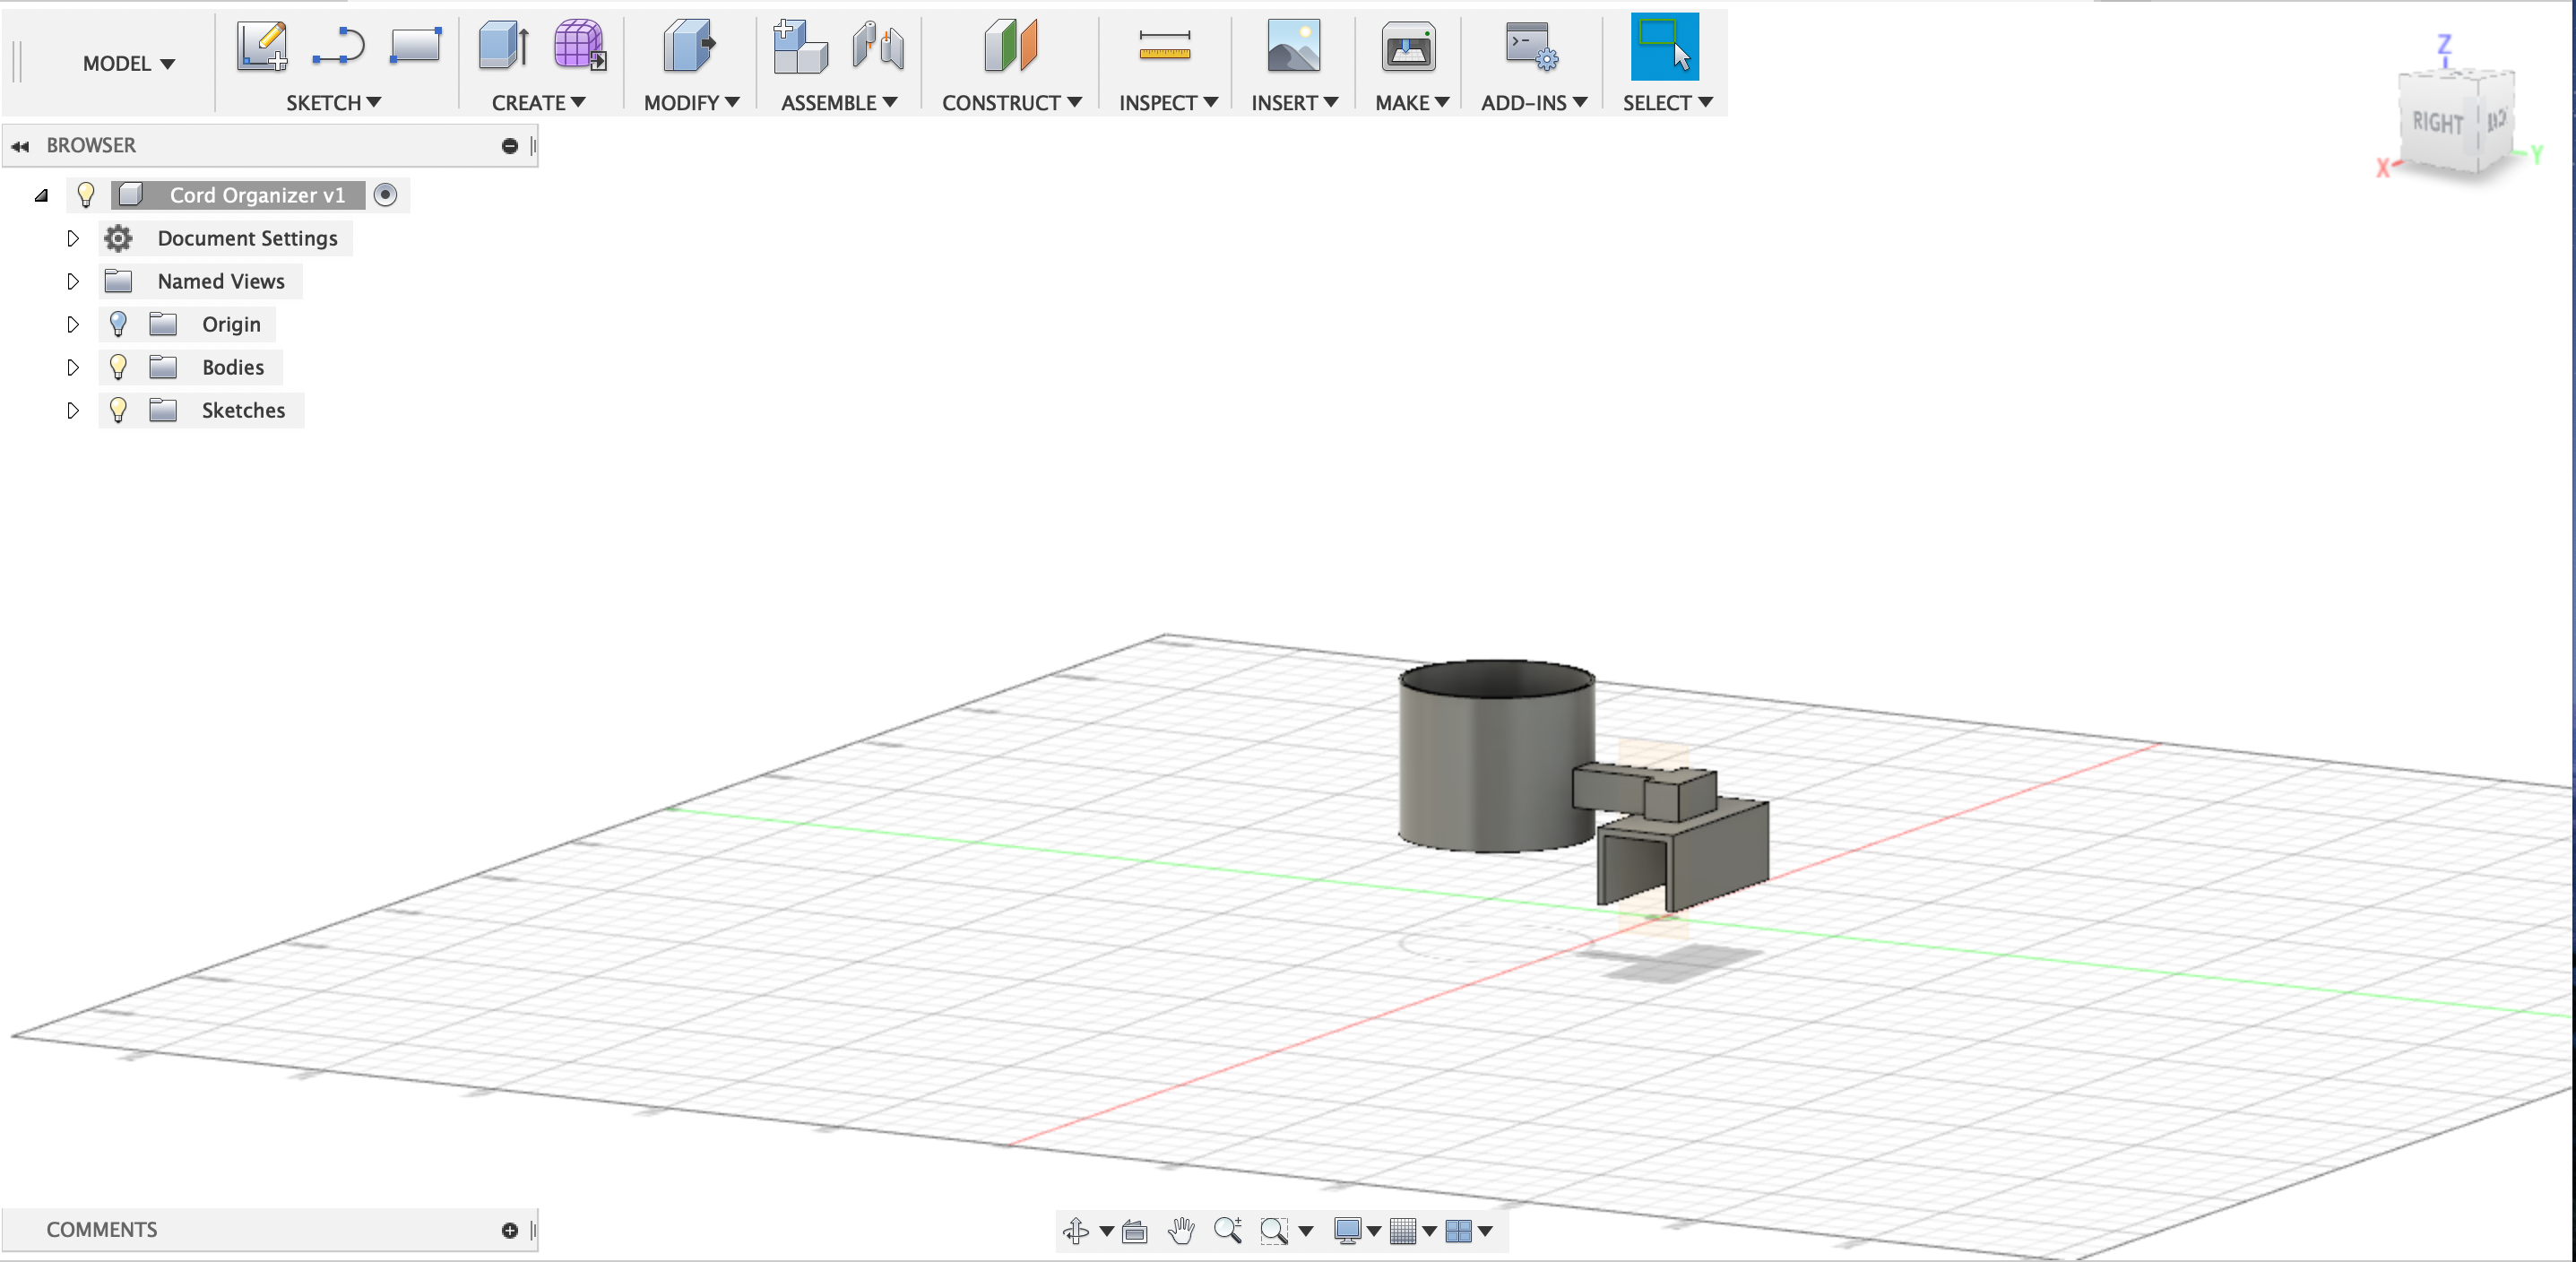
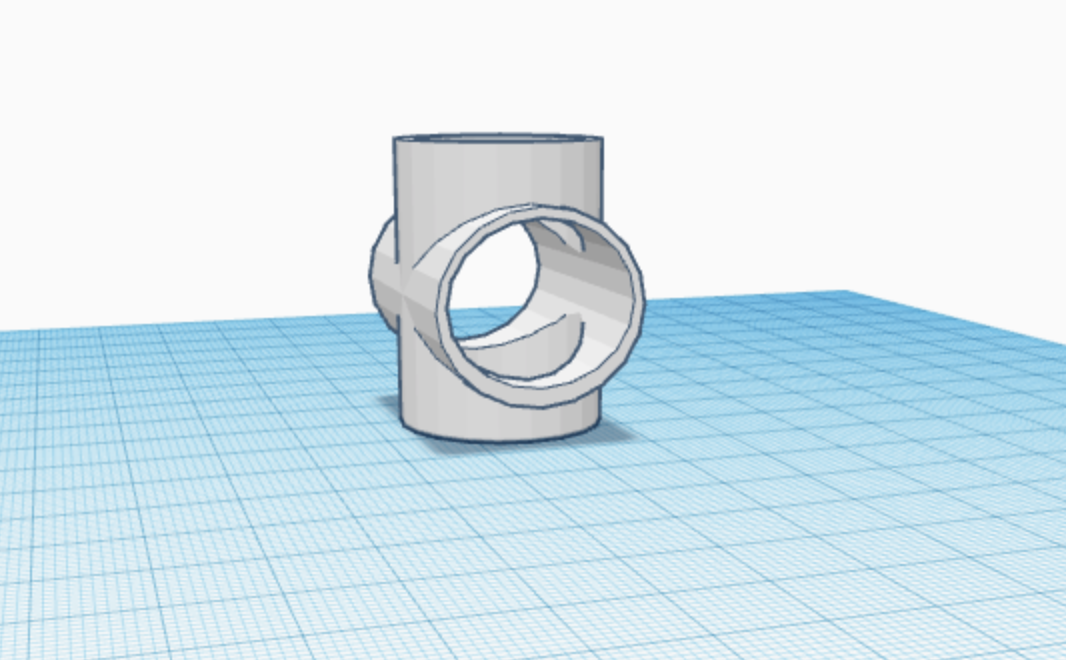
So, here she is. If you read my last blog post (Journal Entry 9) i found something that i could use 3D printing to help my life. The cords under my desk are a complete mess, and i like my sh*t tidied up. So, i designed a “Cord Organizer” if you can call that, to help me out. In the previous post (Once again, Journal Entry 9) i posted a picture of what under my desk looks like. So this “Cord Organizer” is designed specifically for that desk. The metal bar underneath the outlet on the wall is aprox. a 18 mm (width and height) cube/ rectangular prism thingy . I made sure that the clasp of this device can and will fit the bar (width wise) and made sure the sides are long enough (height wise) to snugly keep it in place. The big, circular hole is about 50 mm (5 CM) in diameter, with about 48 mm of actual space (2mm are used as en edge kinda deal). This hole is connected to the base by the top and should be big enough to both fit the heads of the electrical cord through and keep multiple wires contained in it. Hopefully this design works out and it should be relatively easy to print (Might need some supports here and there). But in the end, this is my “Cord Organizer”.

Journal Entry 9
So, when i first heard of this assignment, my mind instantly went to my room in my apartment. Under my desk (where i do a lot of work at) is a good amount of free dangling cords that connect to various things i need and use. Now, i’m a clean individual and like to keep my room tidy. But everyday i walk into my room, i see the ugly cords just hanging there. I was thinking that i could print a cord organizer or something to that nature that can attach to the bottom support beam of the desk (the horizontal beam underneath the cords) that had a decently sized, open cylinder that extended from the beam facing vertically that i can just feed the cords through it. In the end, i hope that the cords would all come into a centralized location and feed up to the desk together. It’ll make my room more organized and clean.
Oh, and mind the trash can, i took out the trash after i wrote this, so yea, i am a clean individual (I drink lots of water).

Journal Entry 8
So we moved on to a program called “Fusion 360”. Let me tell you something, it’s alright. I mean, it’s easier and yet harder than the other programs to be honest. Some things are easier to do while some are just frustrating. In the end, it’s just okay. Anyways, here is a couple items I manage to complete.
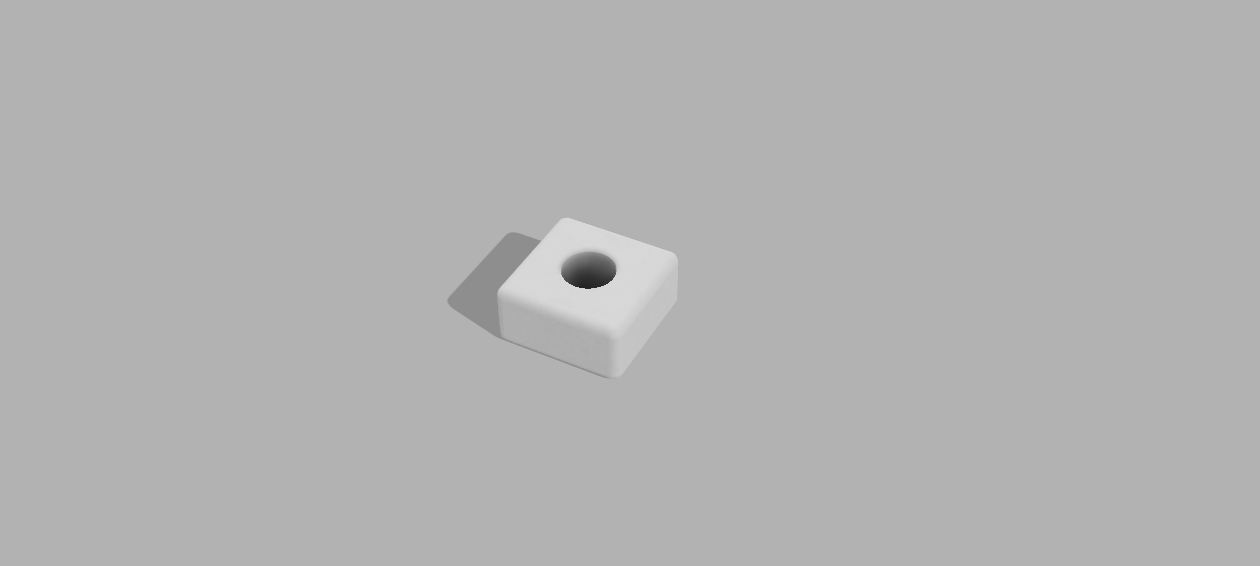
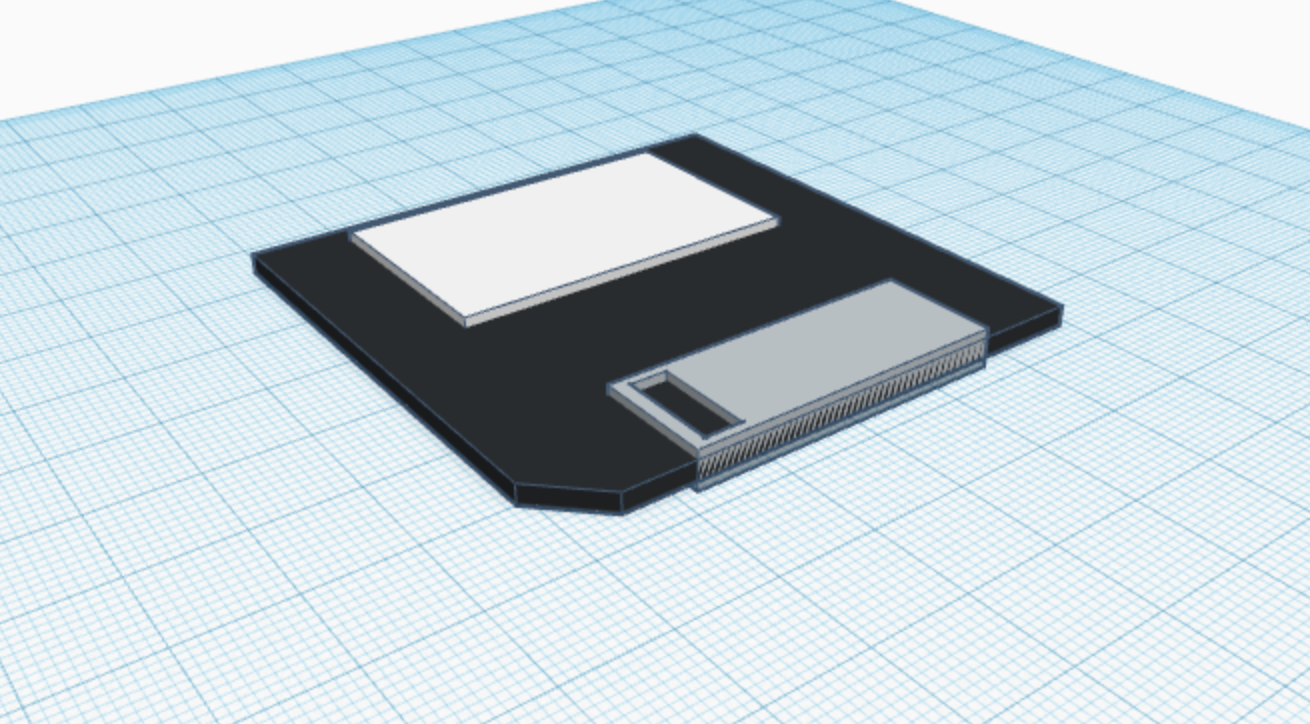
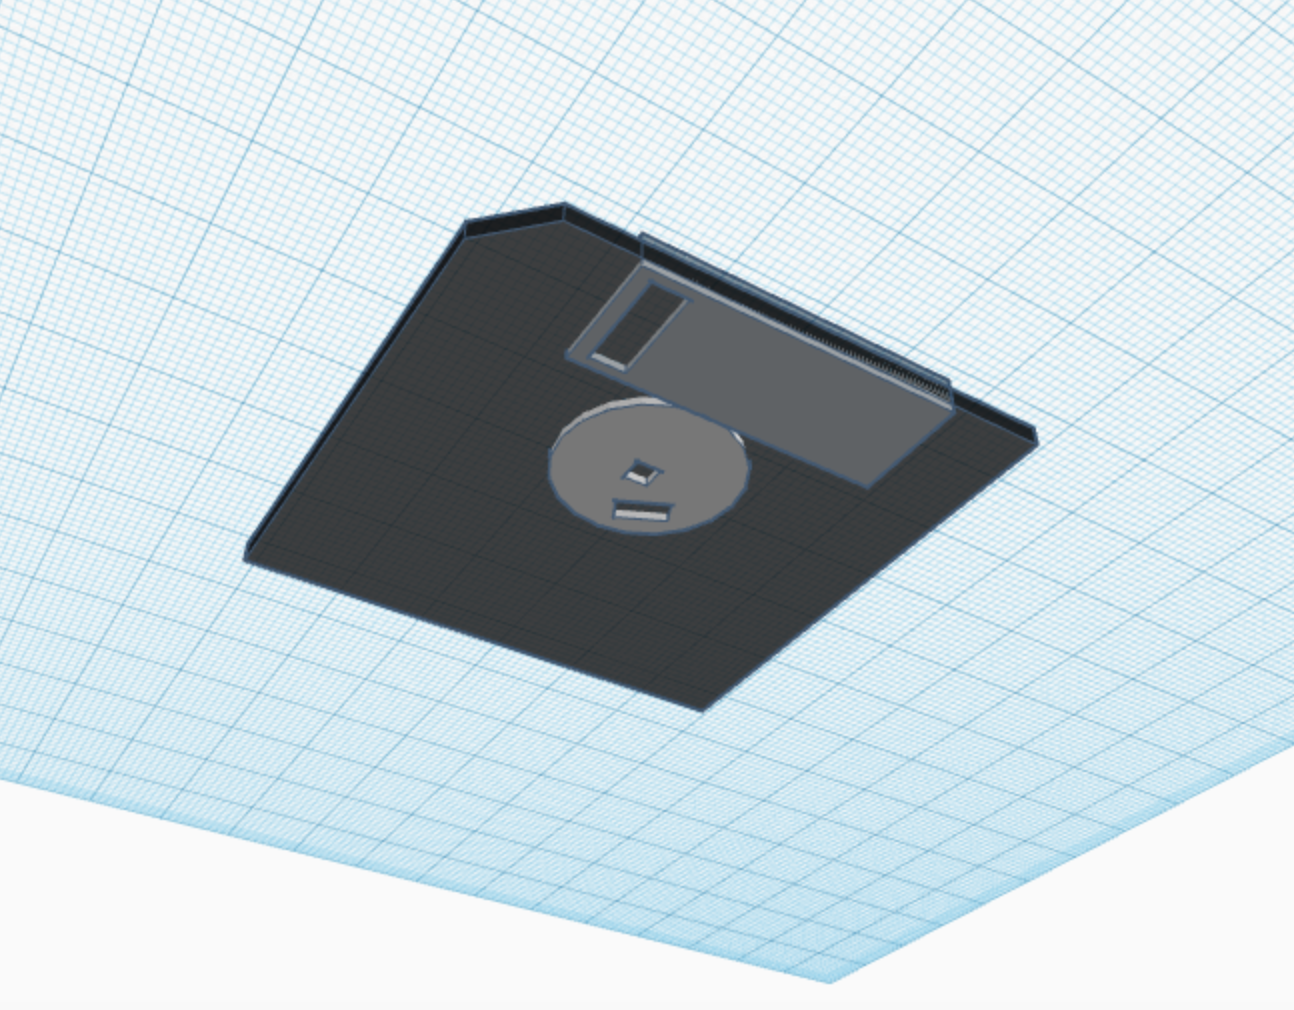
The Tutorial Box: It’s pretty self-explanatory here. I just followed the tutorial and made a box with a hole in it, which is rendered out of paper.
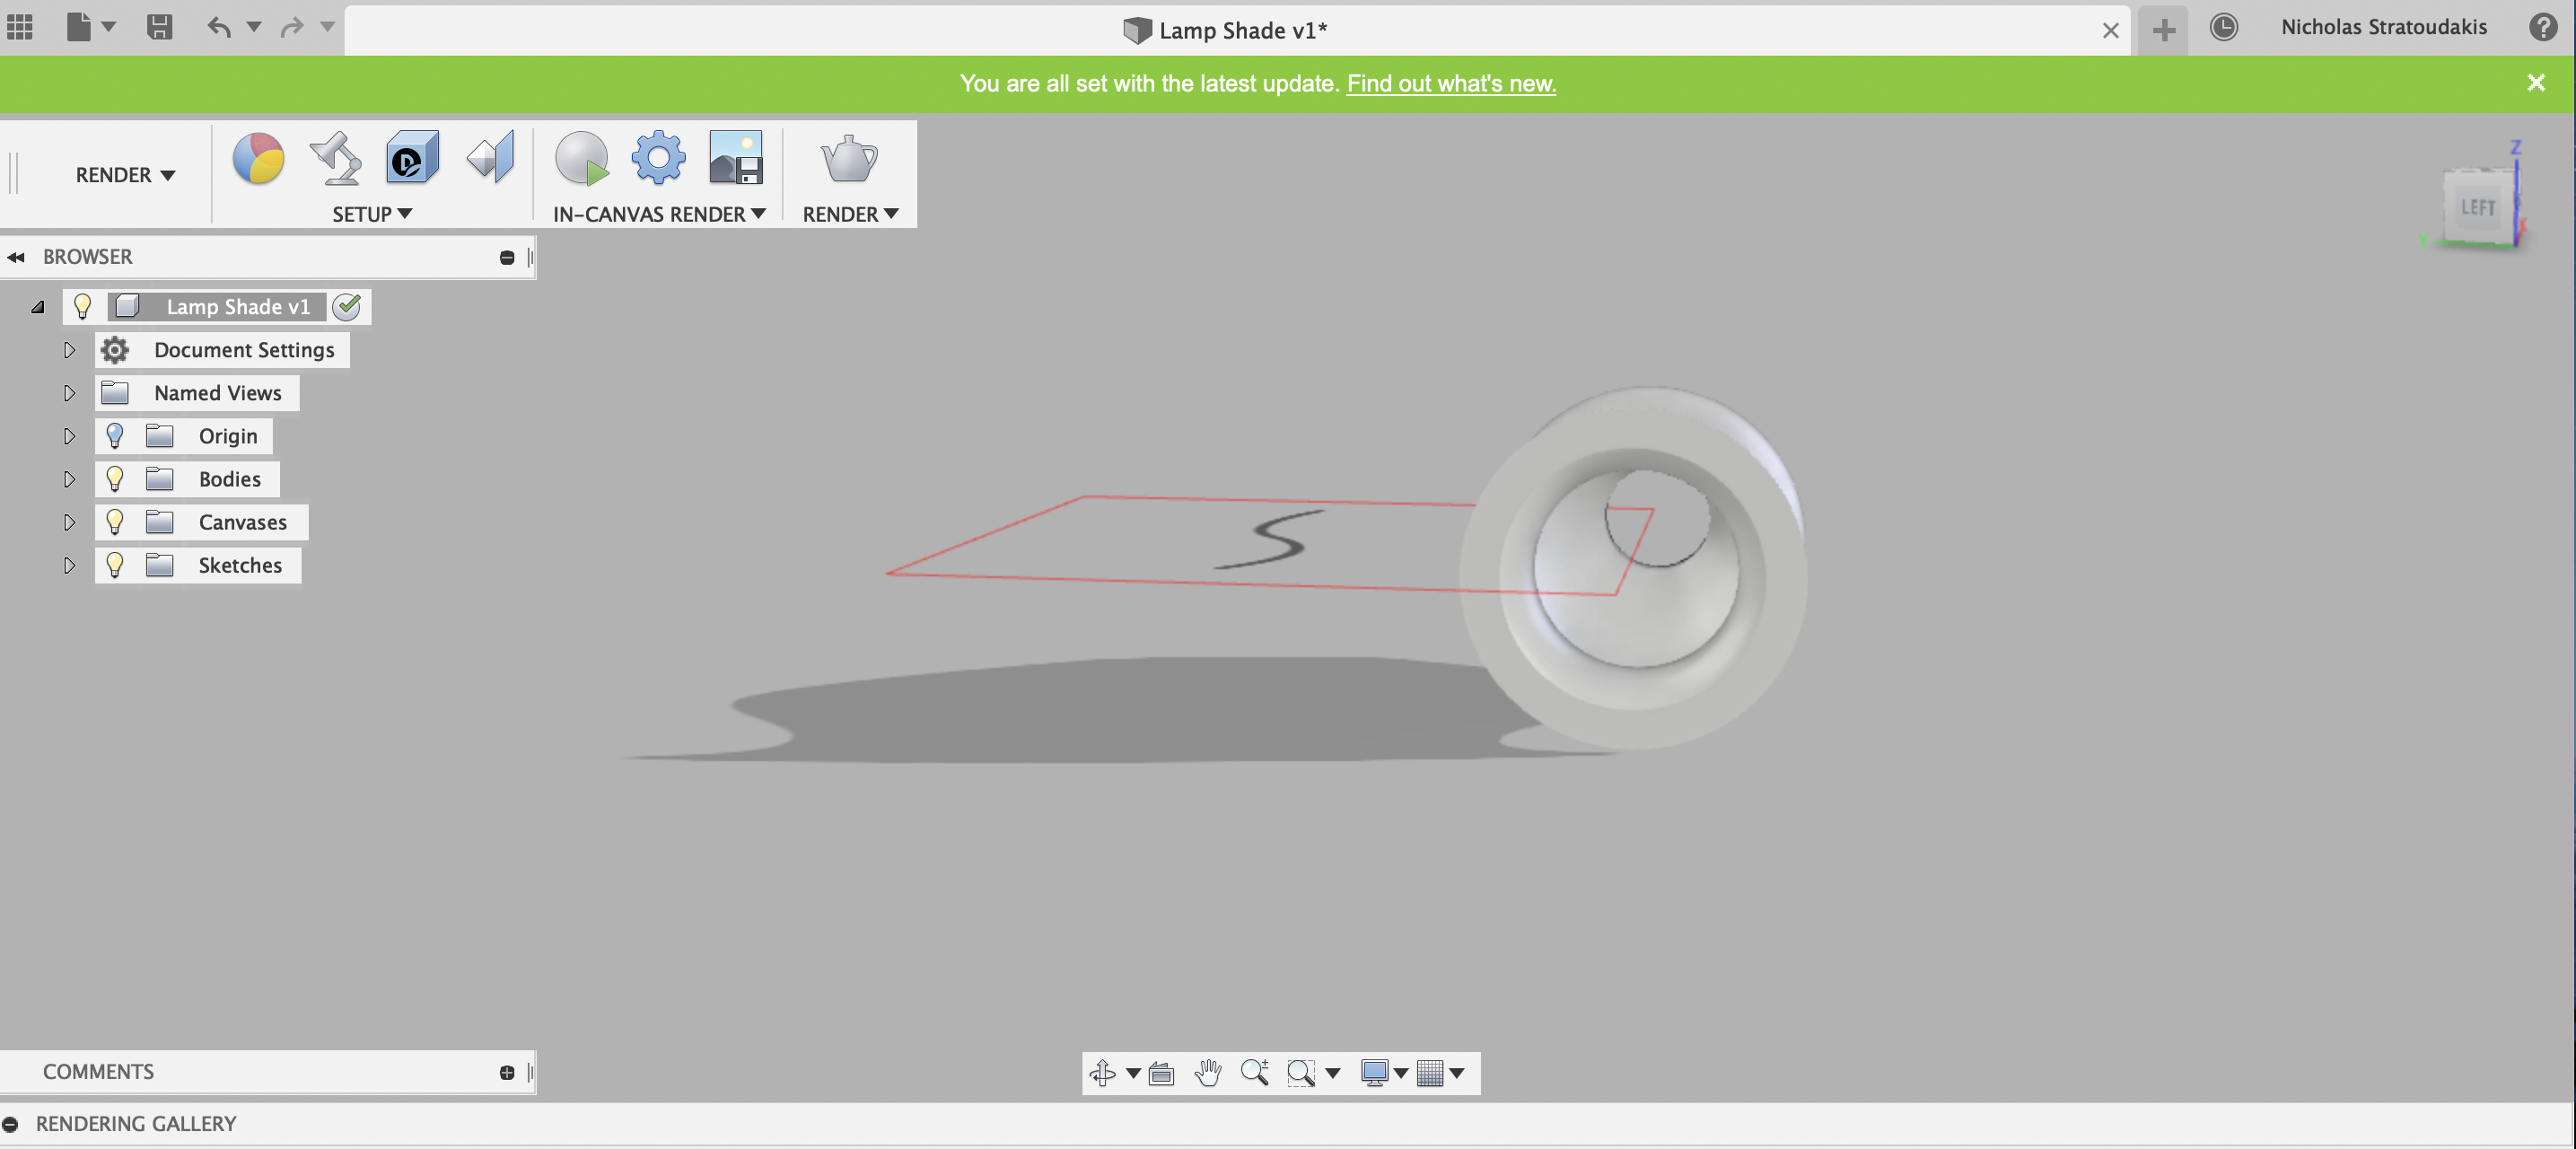
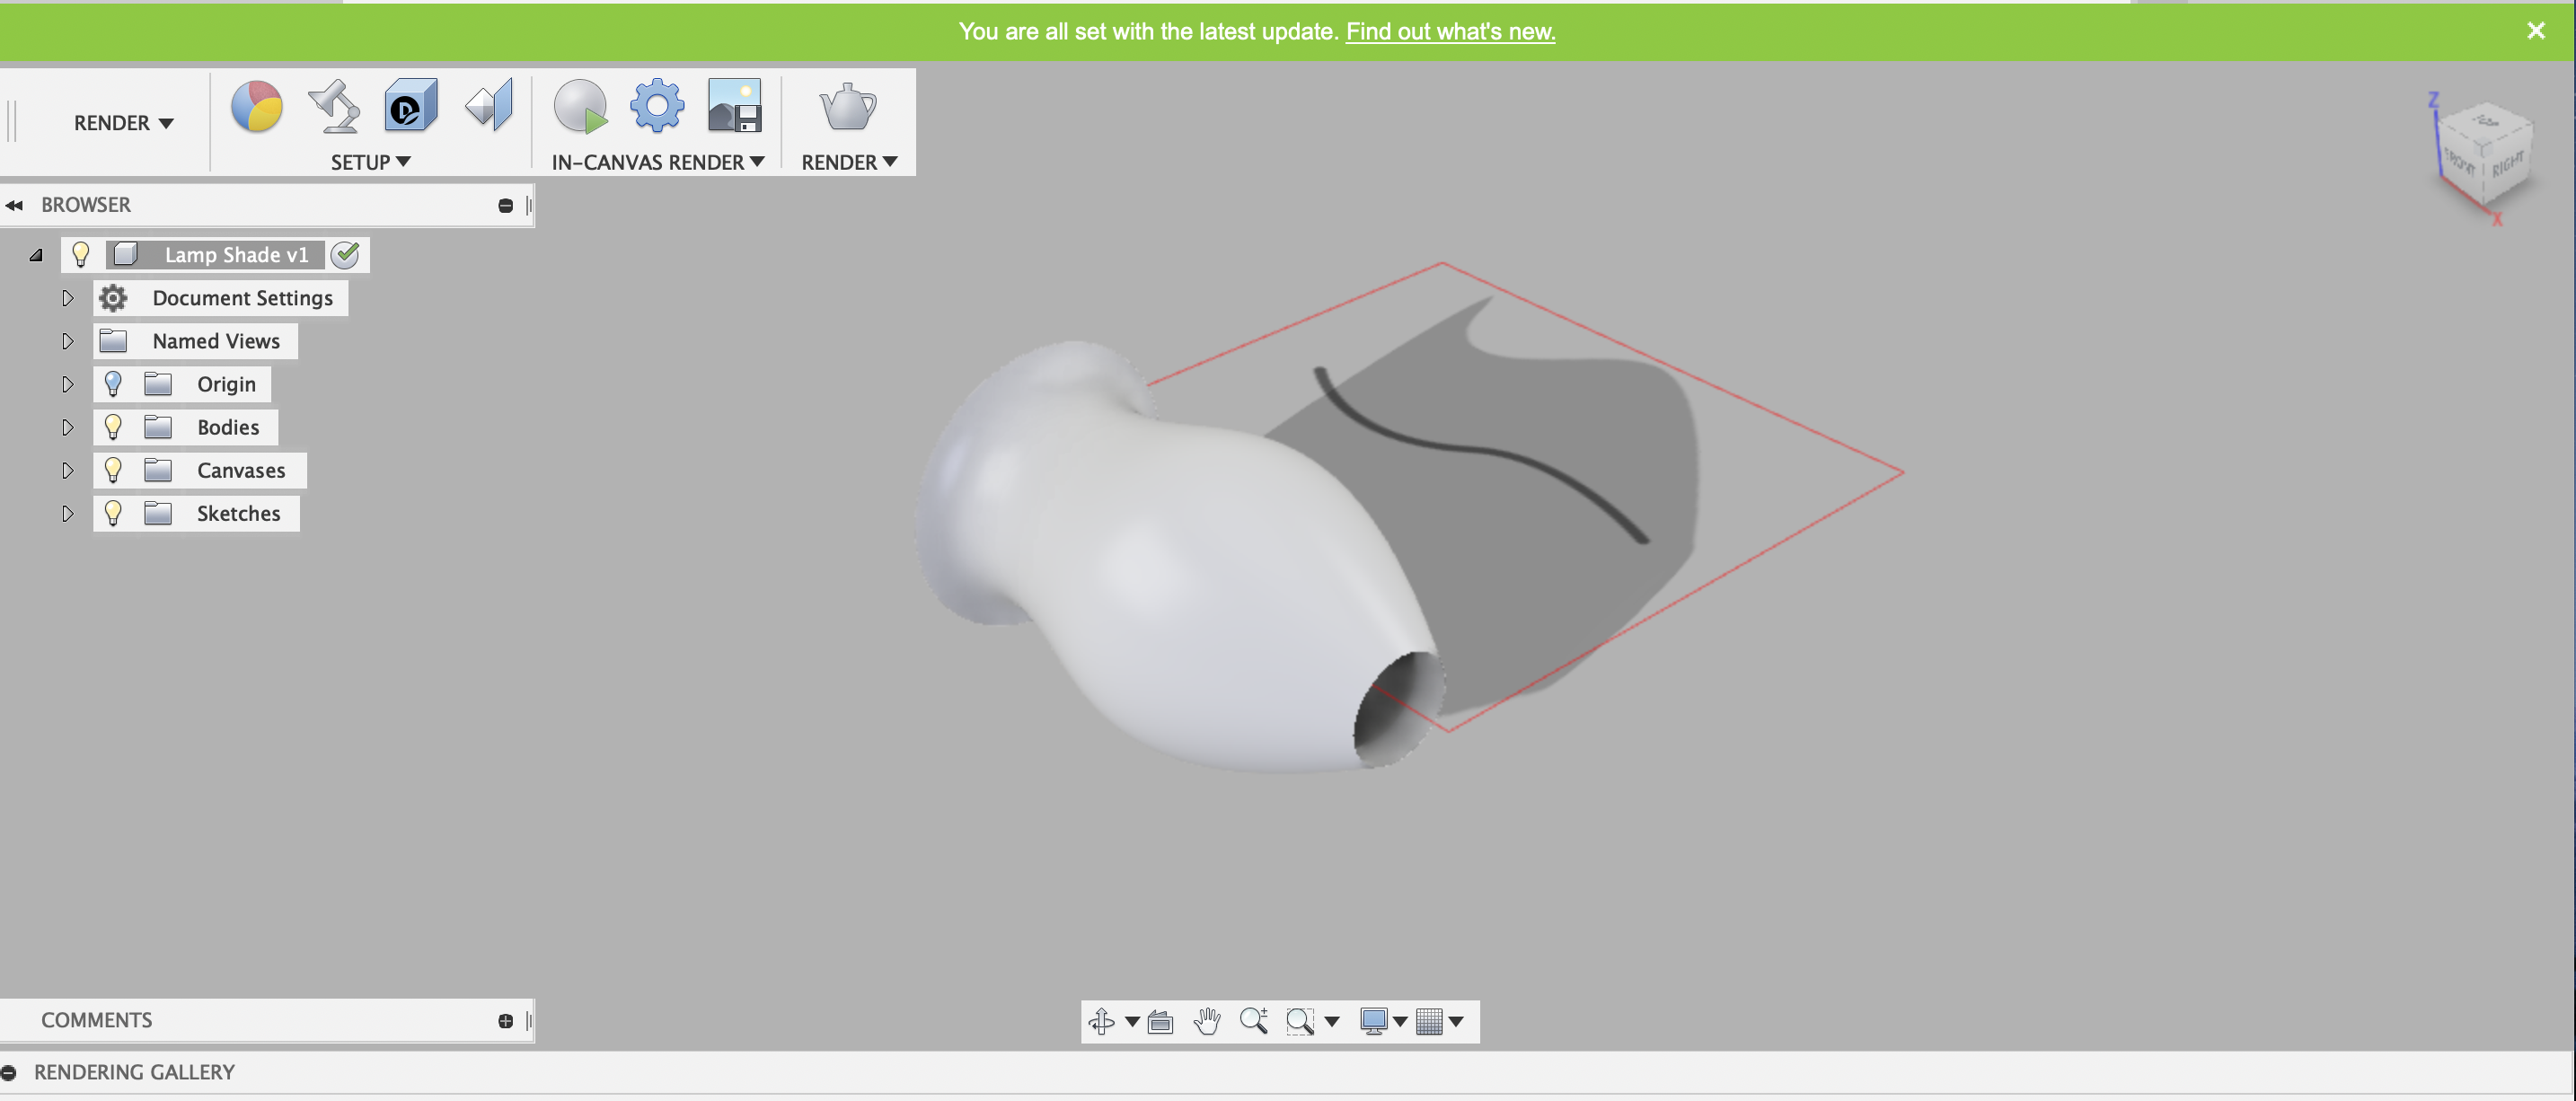
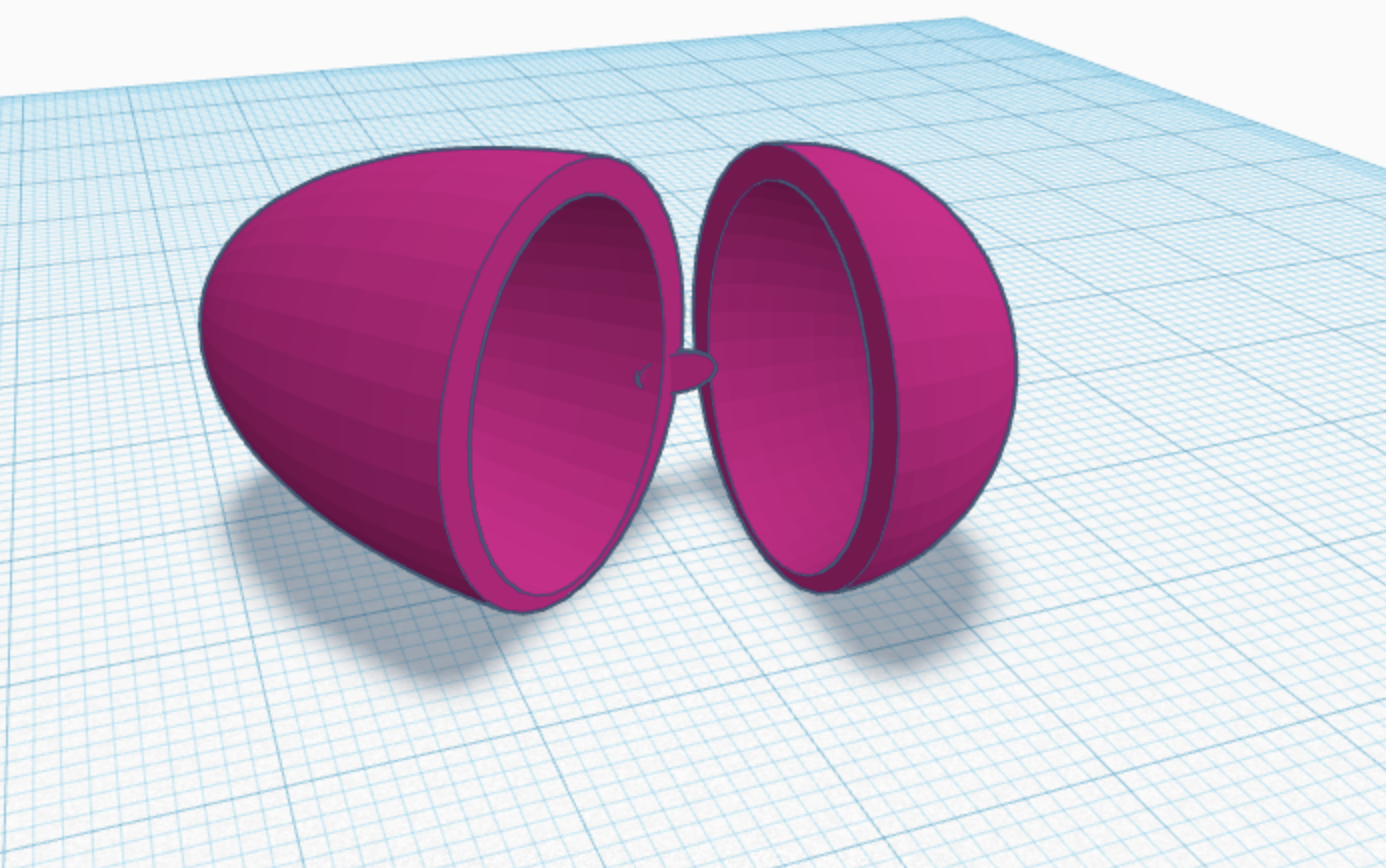
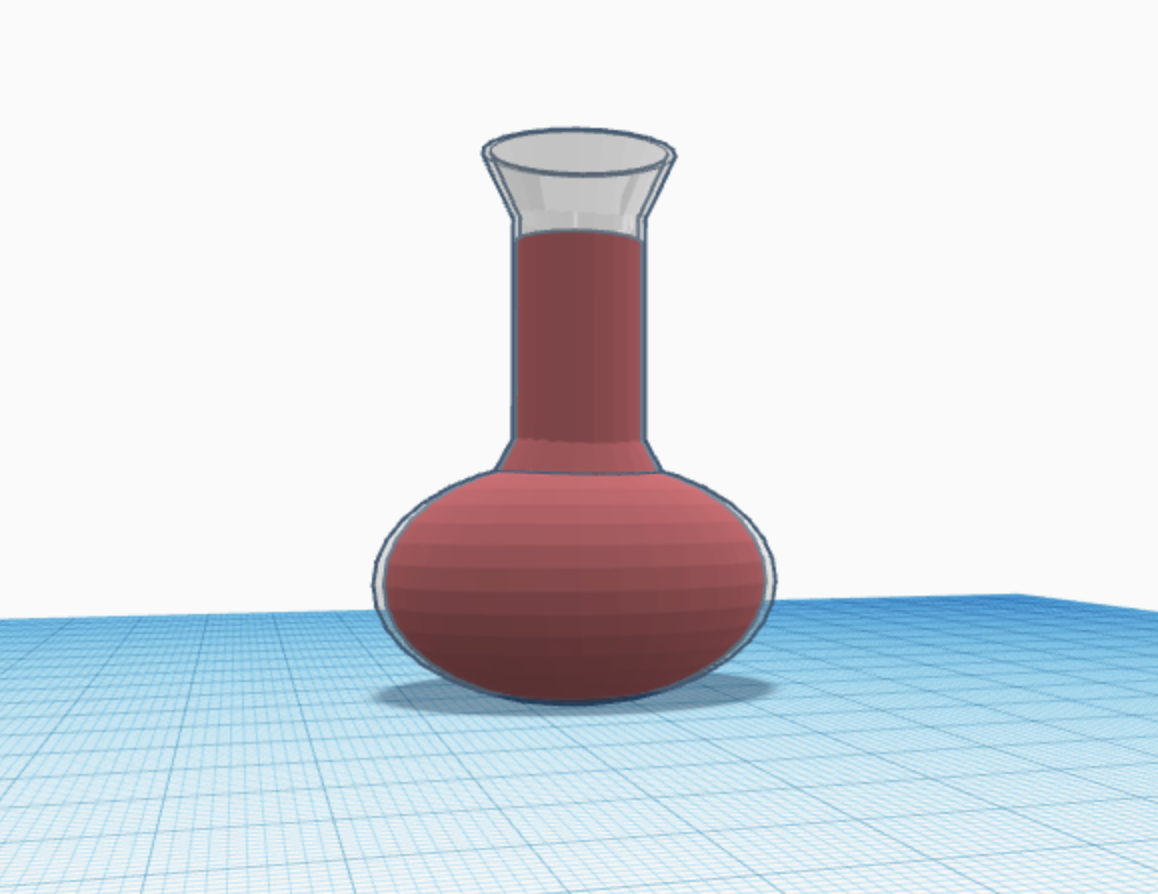
The Lamp-Shade: Yea, this one was pretty hard.. just a simple lamp shade that can fit over the light bulb and stand. It’s kinda futuristic looking and it’s really skinny so it can go on one of those floor lamp things you’d see in a living room.I’m proud of it
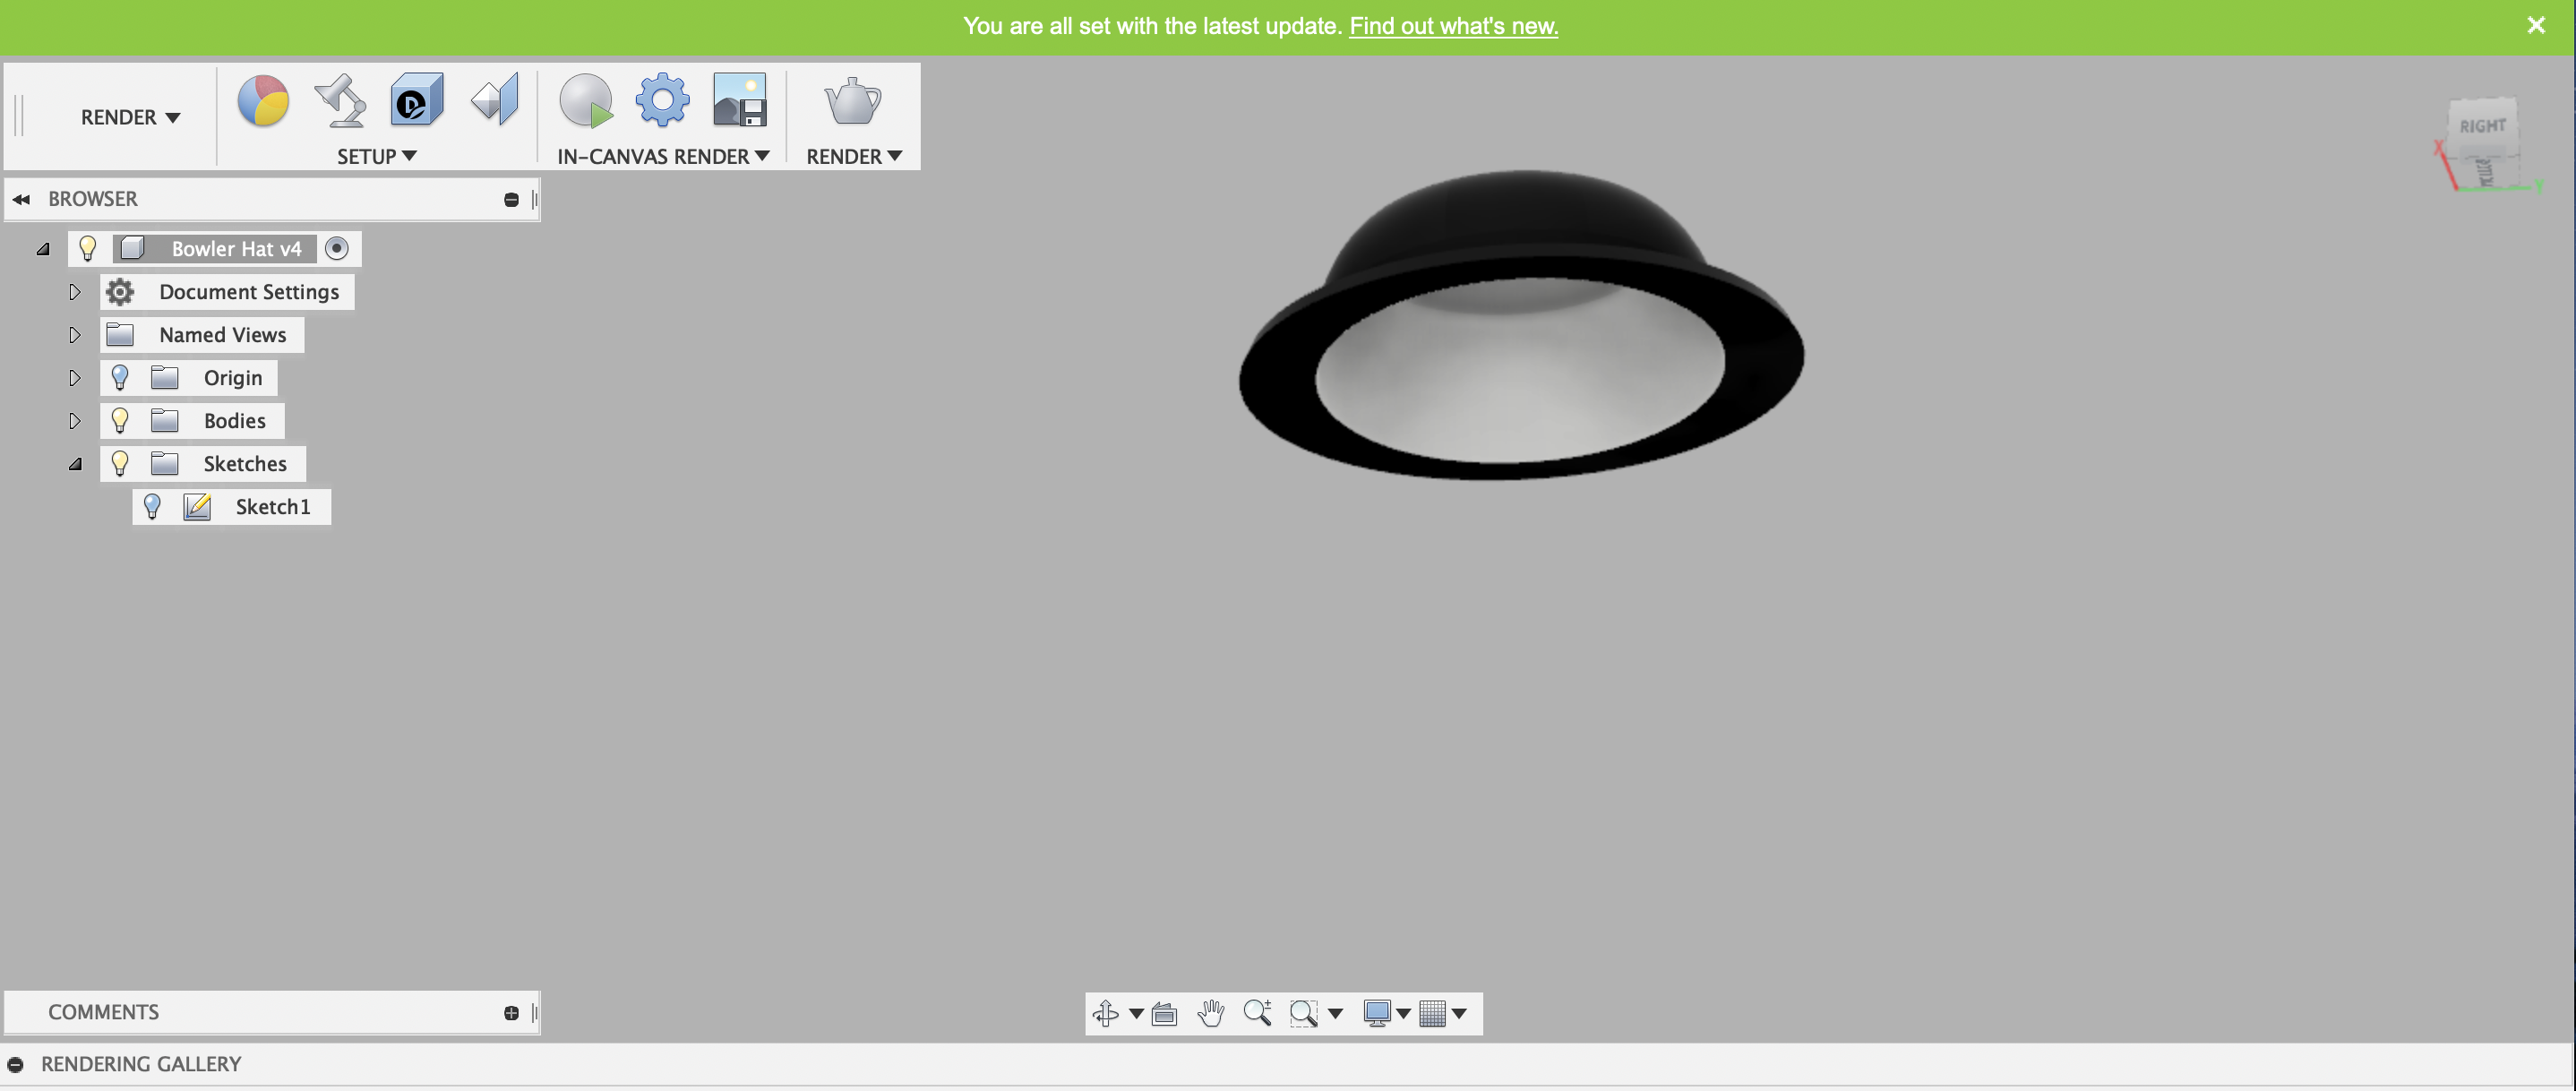
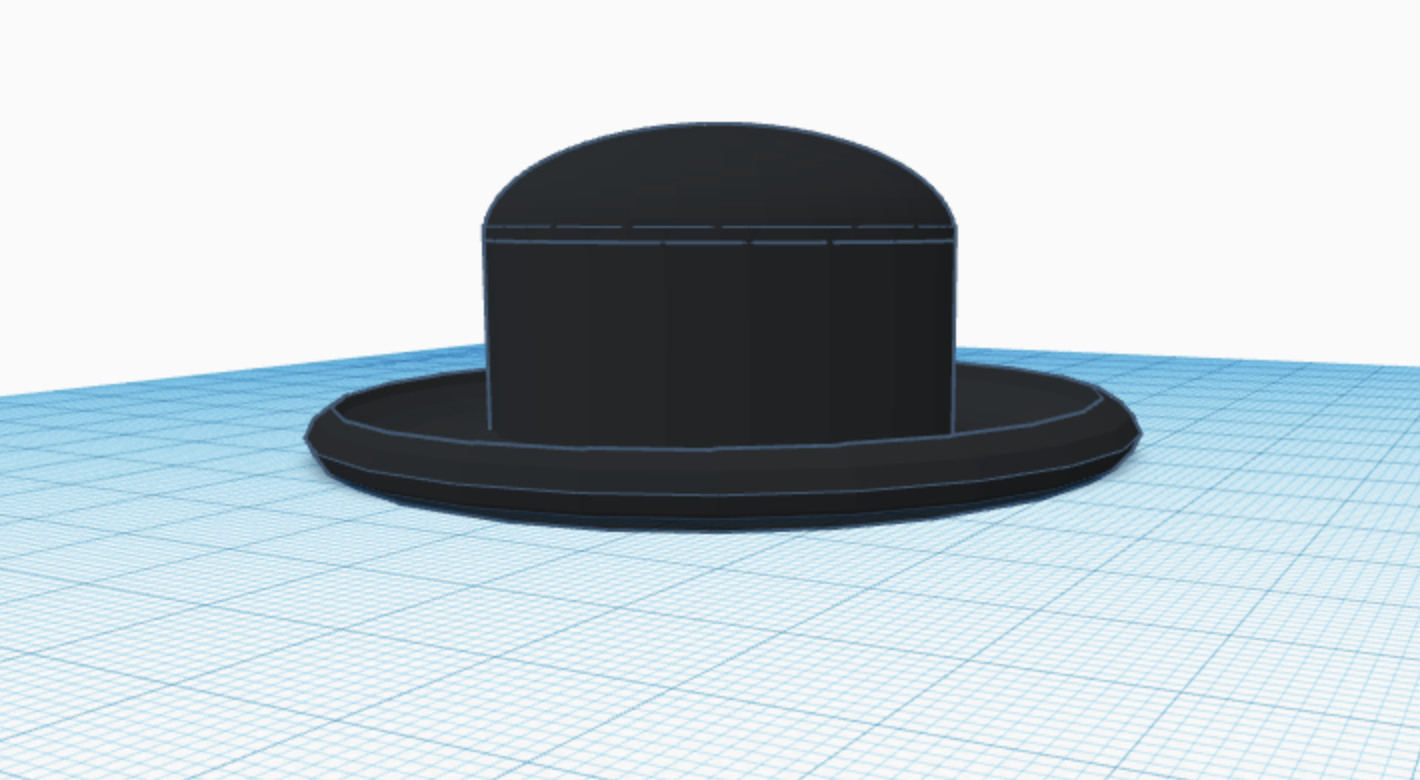
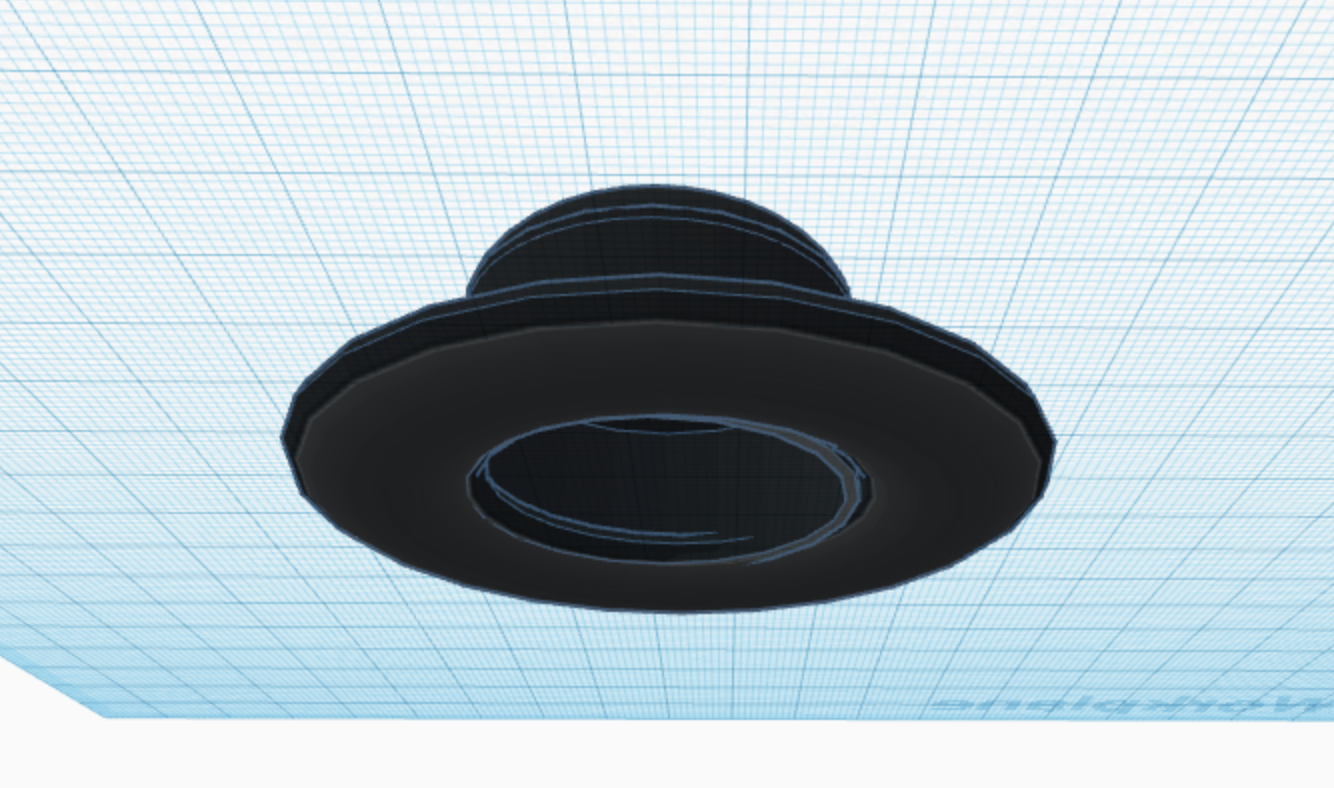
The Bowler Hat: Yep, it’s back again.. the one and only bowler hat. This wasn’t that bad though it took a lot of trial and error to make it. It’s a two-tone color so it’s pretty stylish and i feel like my professor would wear it.

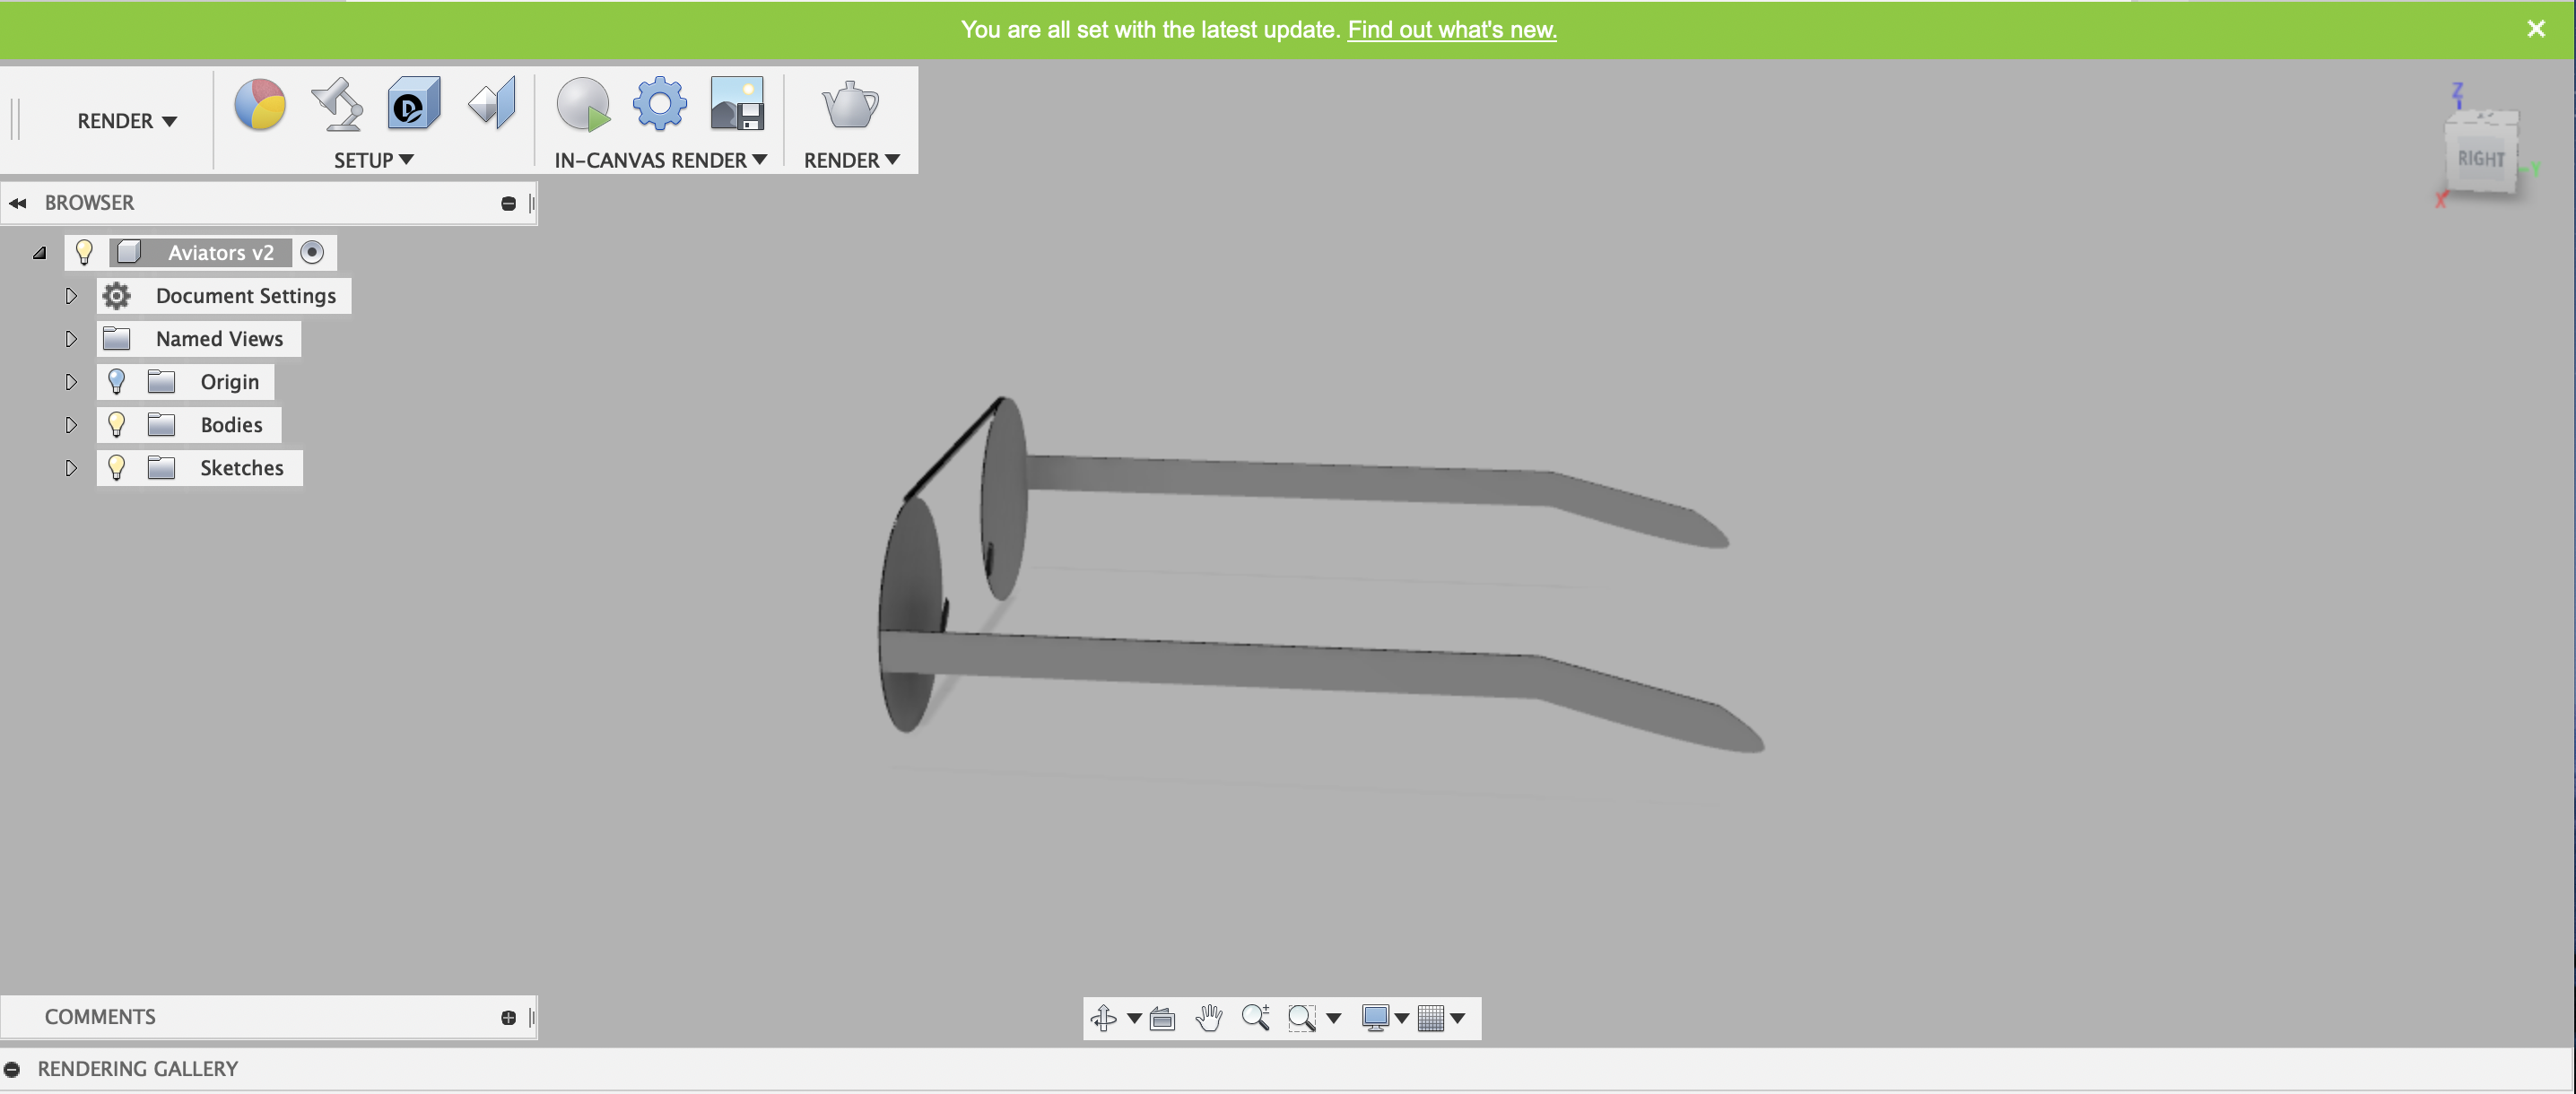
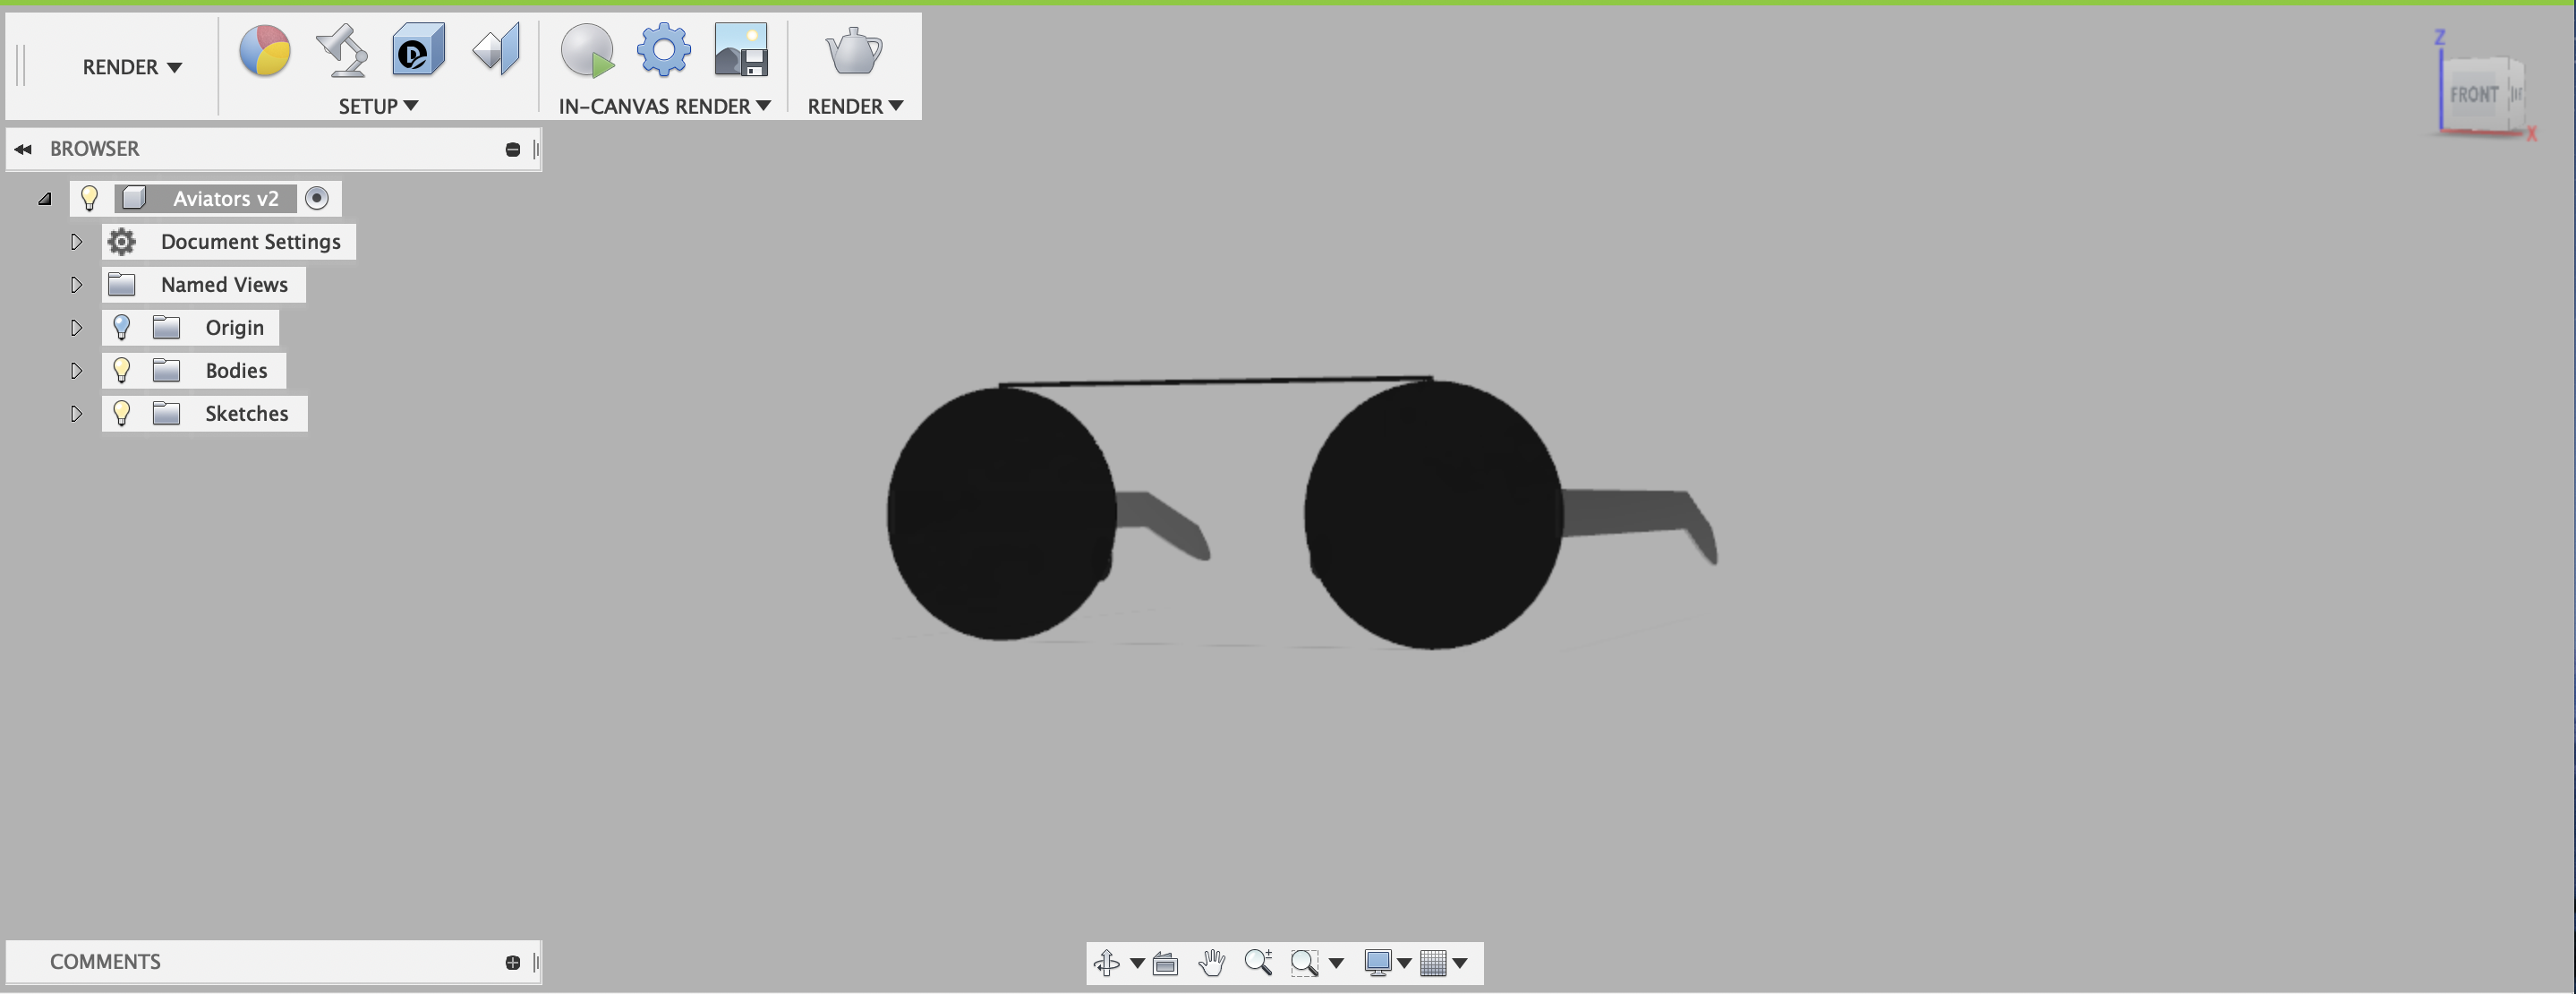
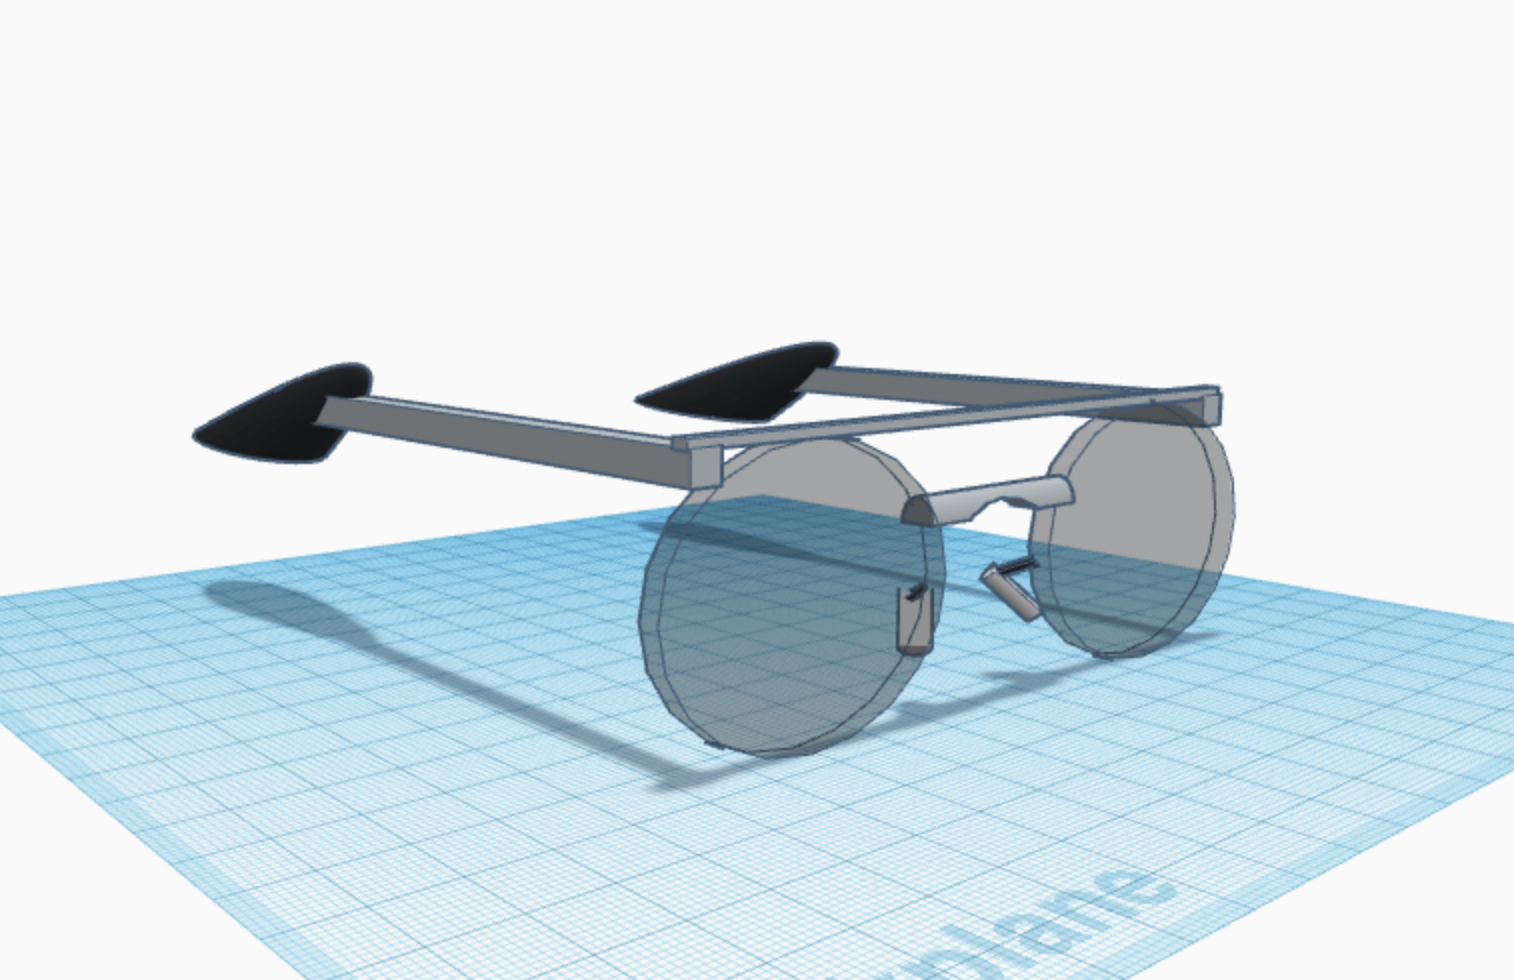
The Aviators: Yeaaa, this thing. It’s back with its cousin, the Bowler Hat. This was a bih and a half to make can’t lie chief. This was pretty challenging trying to attach the pieces together. I drew out (or sketch) all the parts first, then creating them (making them into 3D) and then by hand, steady precision, and pure luck, put them together to create one ugly ass pair of glasses. But, they are aviators so i’m proud of myself on this one.
Journal #7
My instructor ain’t lying. Free CAD was a bih and a half. It wasn’t stupid hard to the point i couldn’t do anything. But it took longer than expected to actually complete this assignment.
For the first part, it was pretty self explanatory, i just followed the guidelines and the tutorials and got it done pretty quickly.
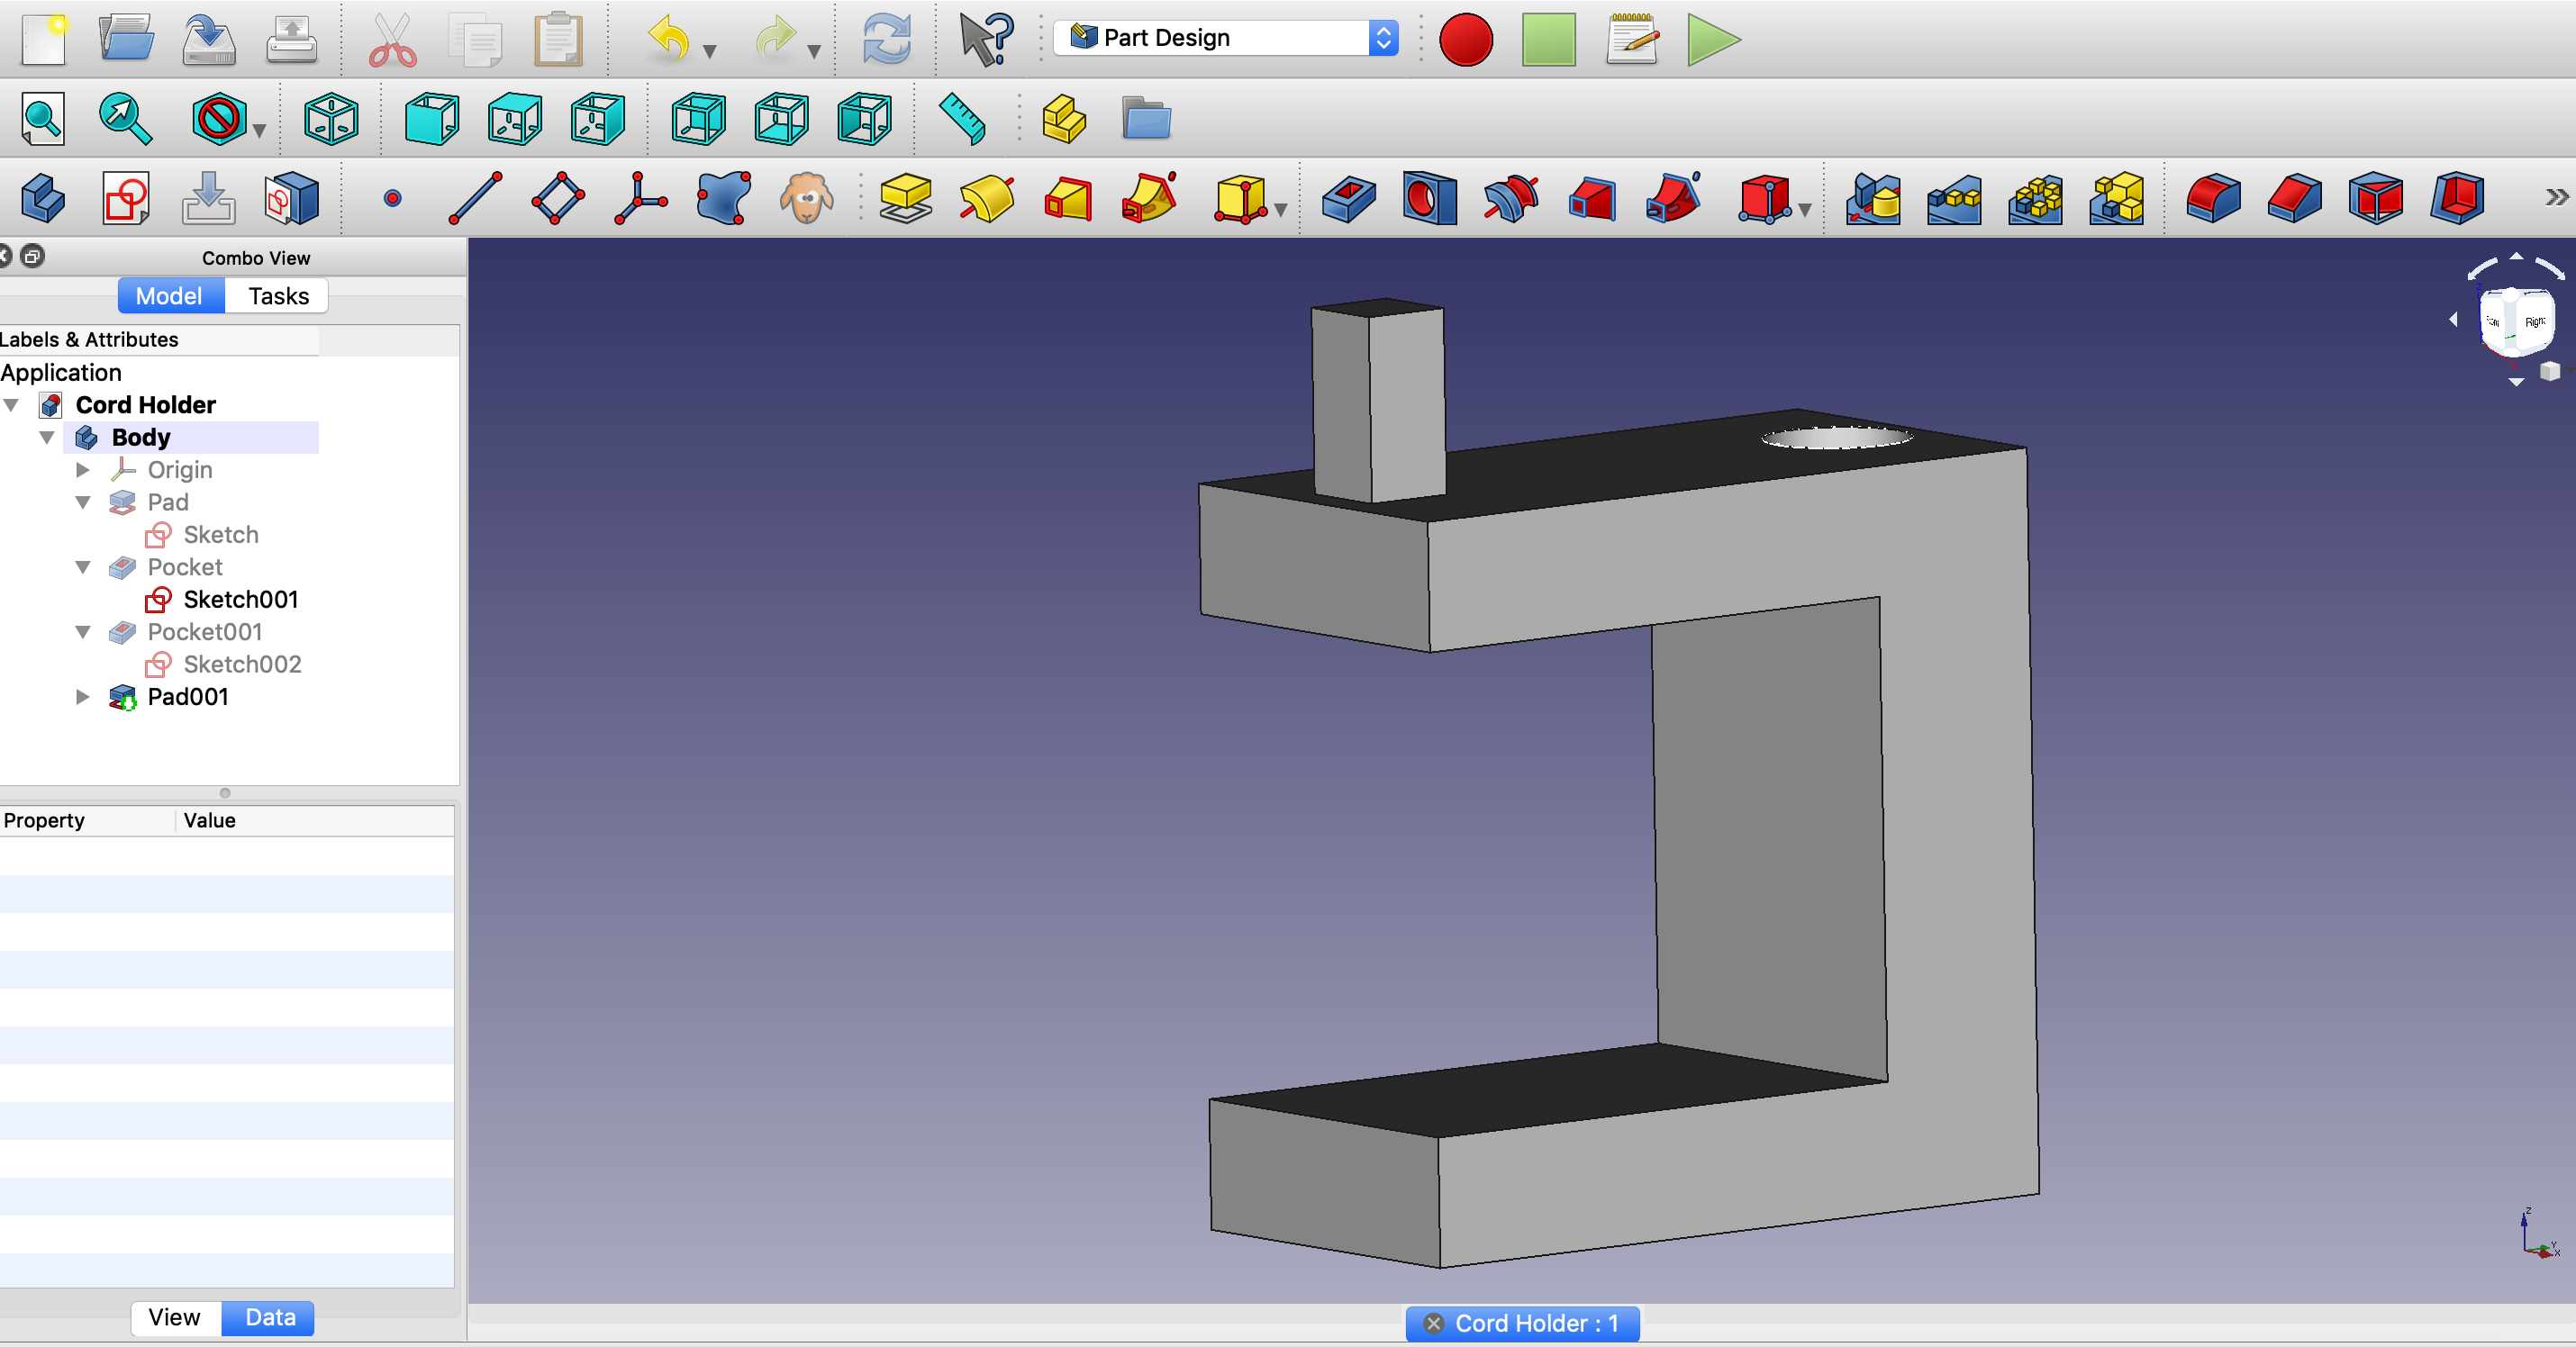
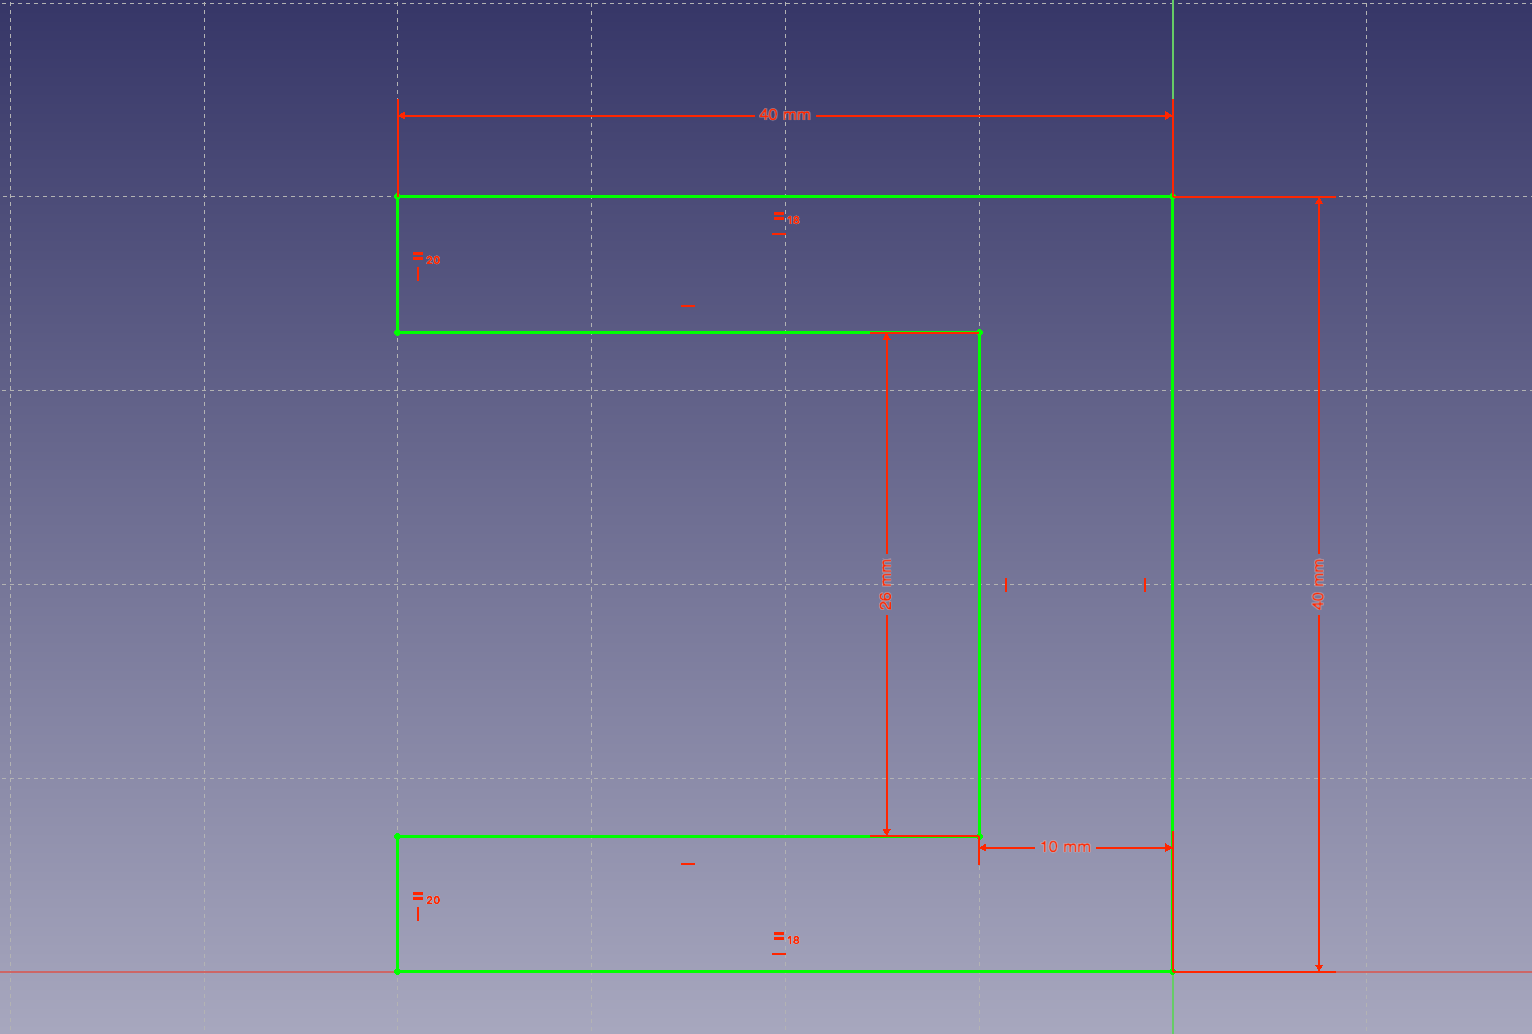
For the second part, it was a little bit more challenging. I had to get the measures just right to fit my current desk and cords. My desk was almost exactly 1 inch in height (for the lip part of it) I believe i did a good job at doing just that. My design should fit my desk like a glove. The wire actually goes through the back of the design and comes out on the top. Then, when the wire gets closer to the desk, the user can then wrap up the slack (or some of it) in its tiny little pillar to make sure the cord stays in place.


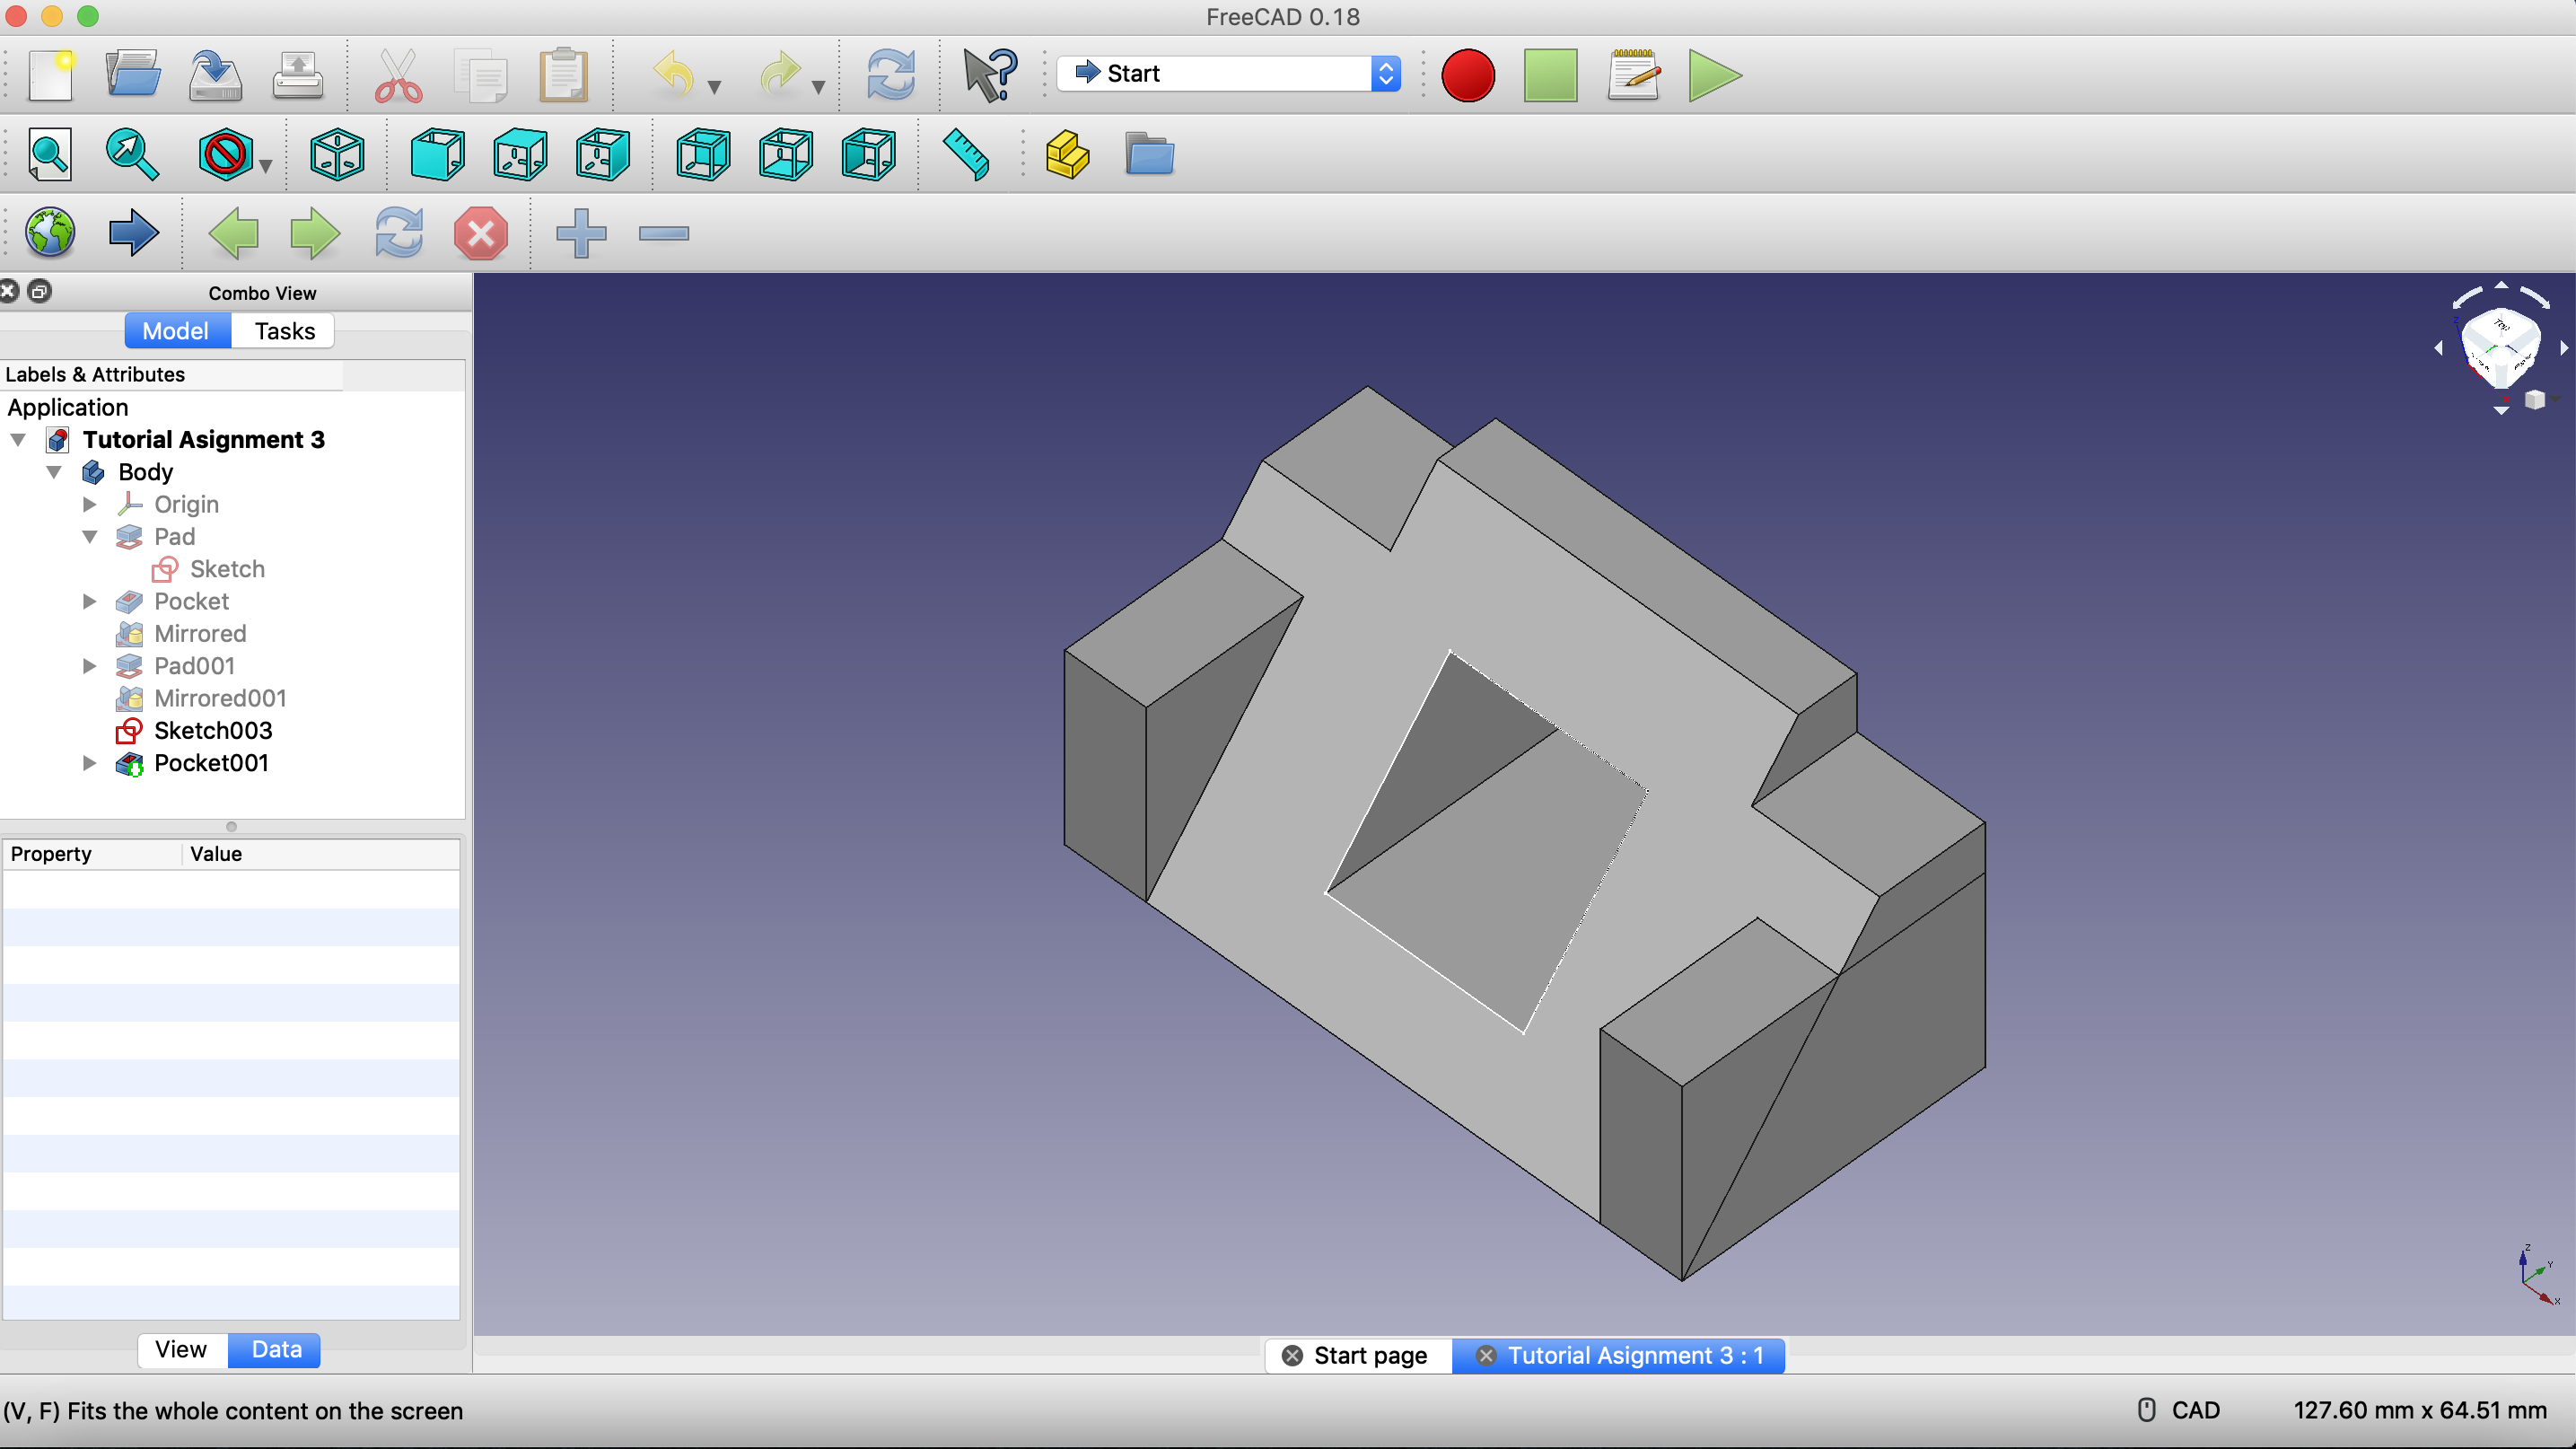
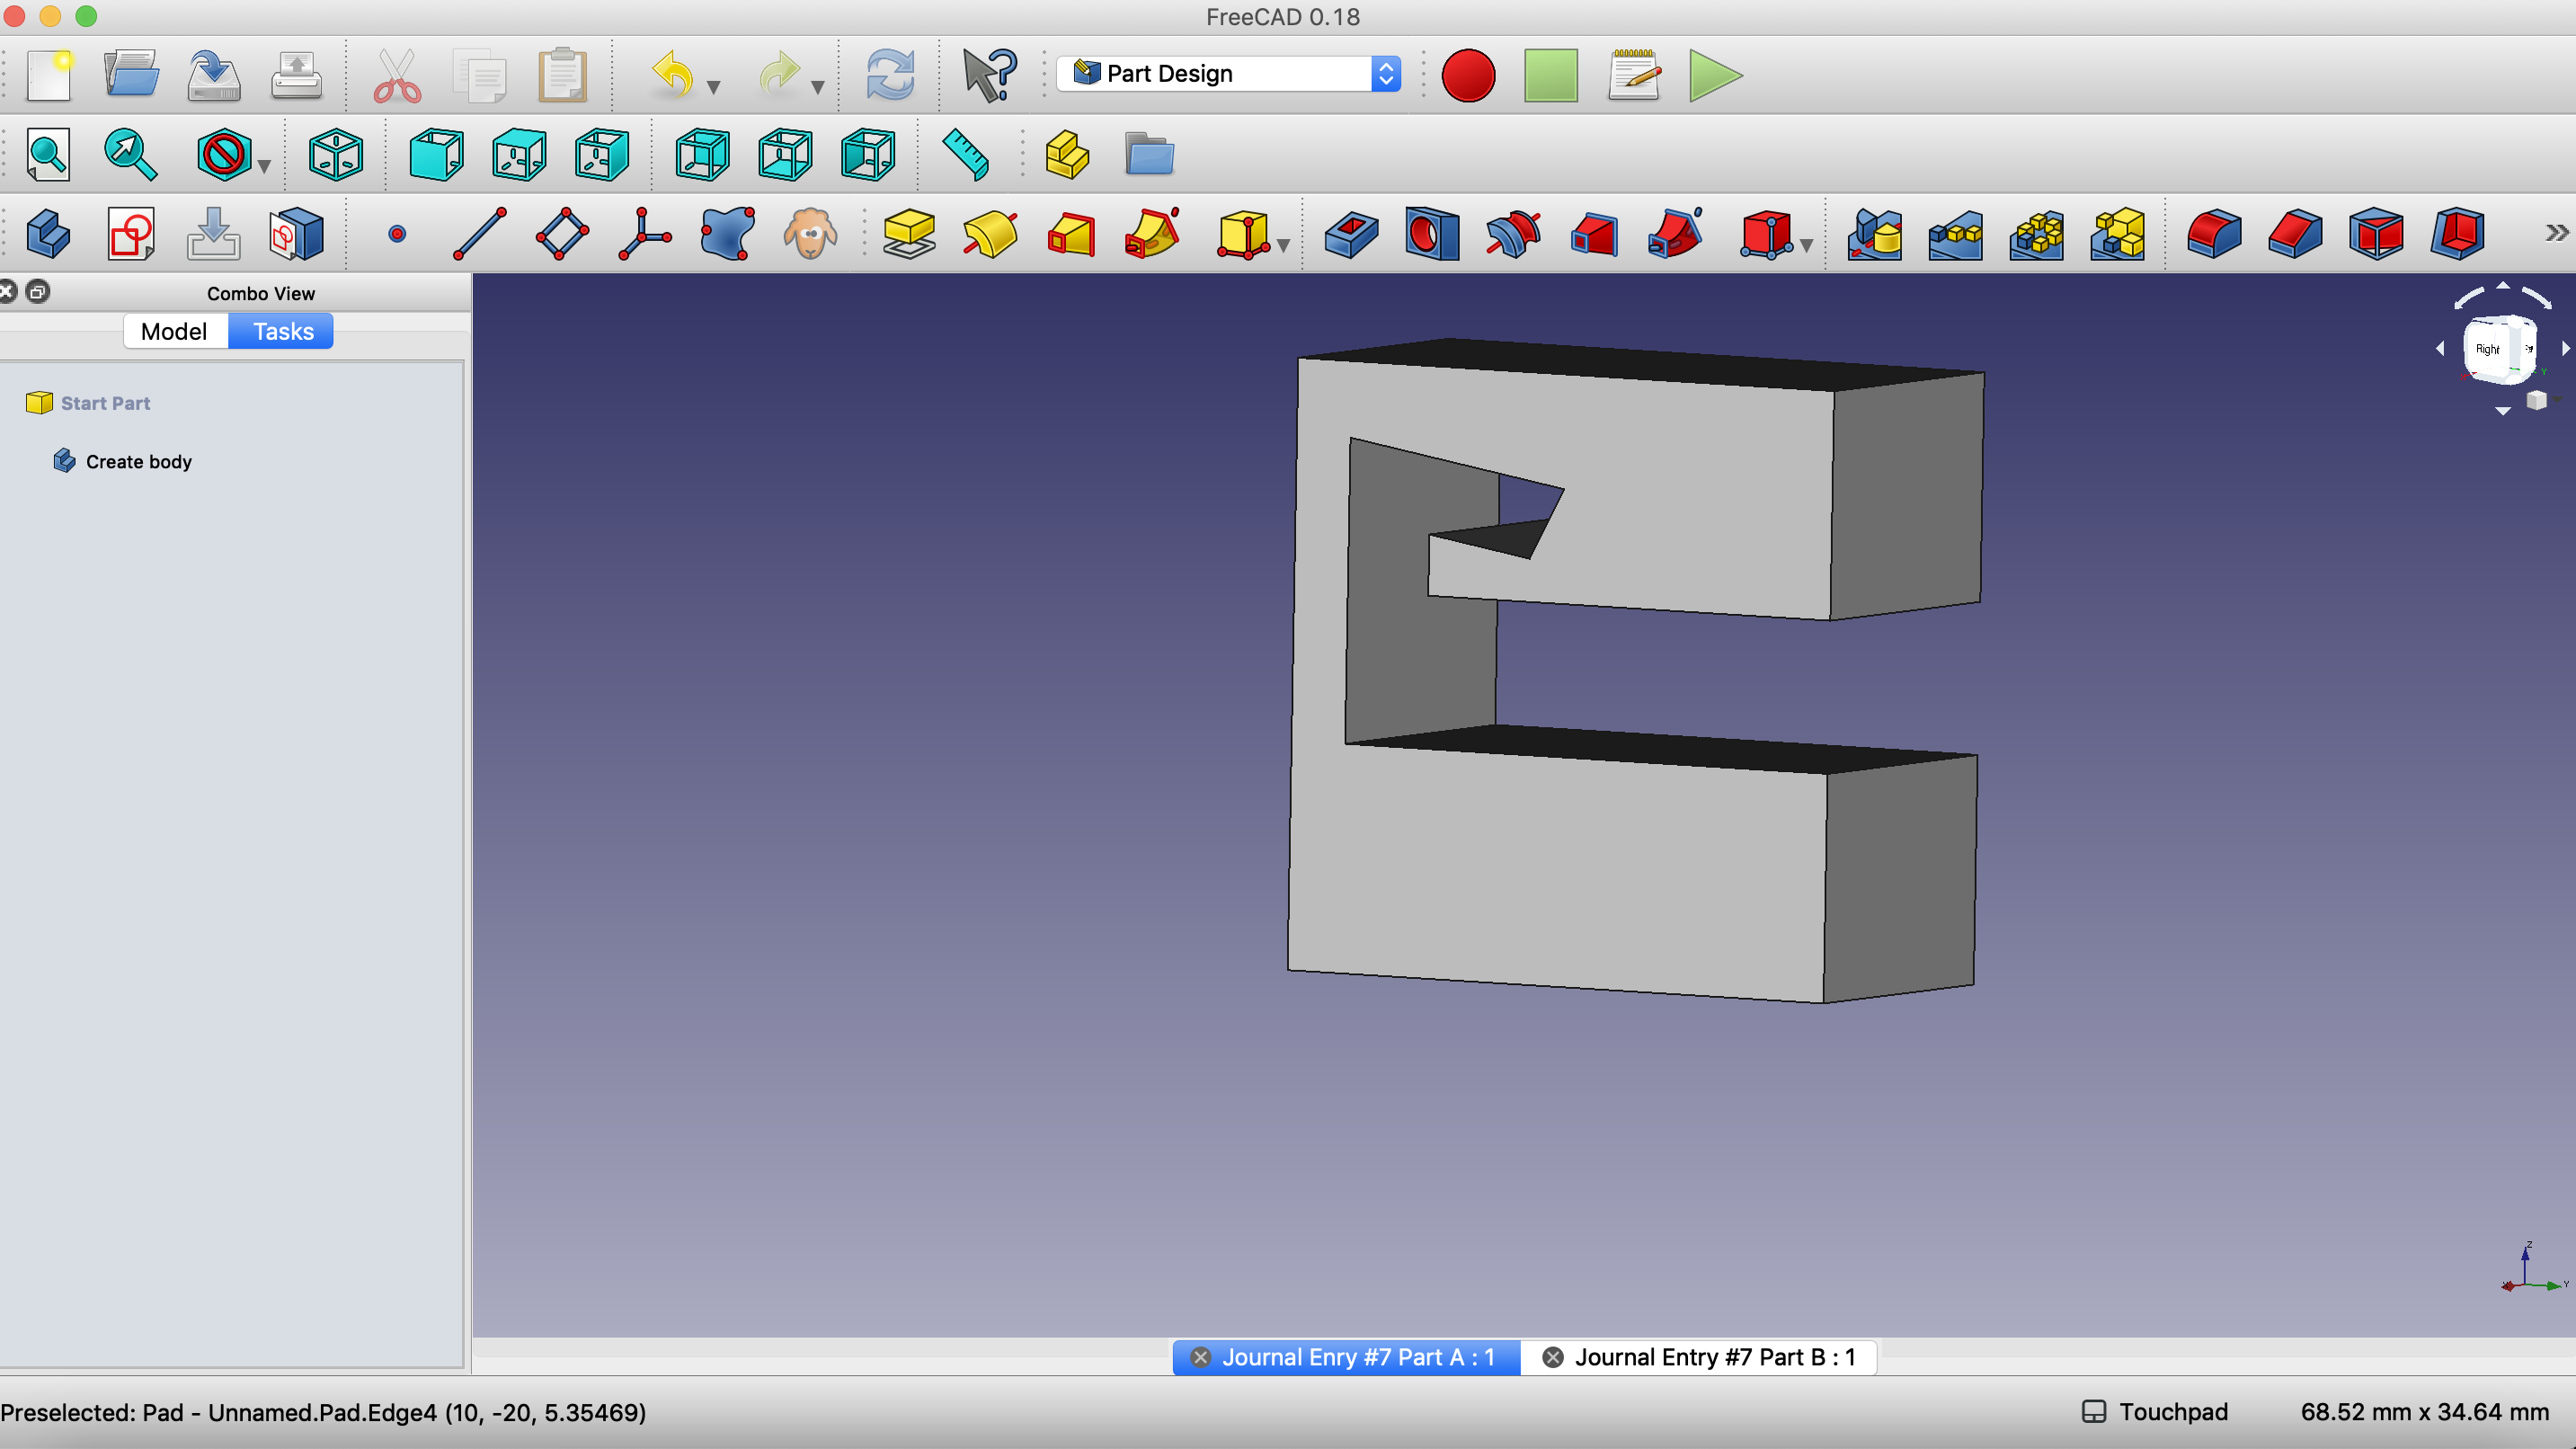
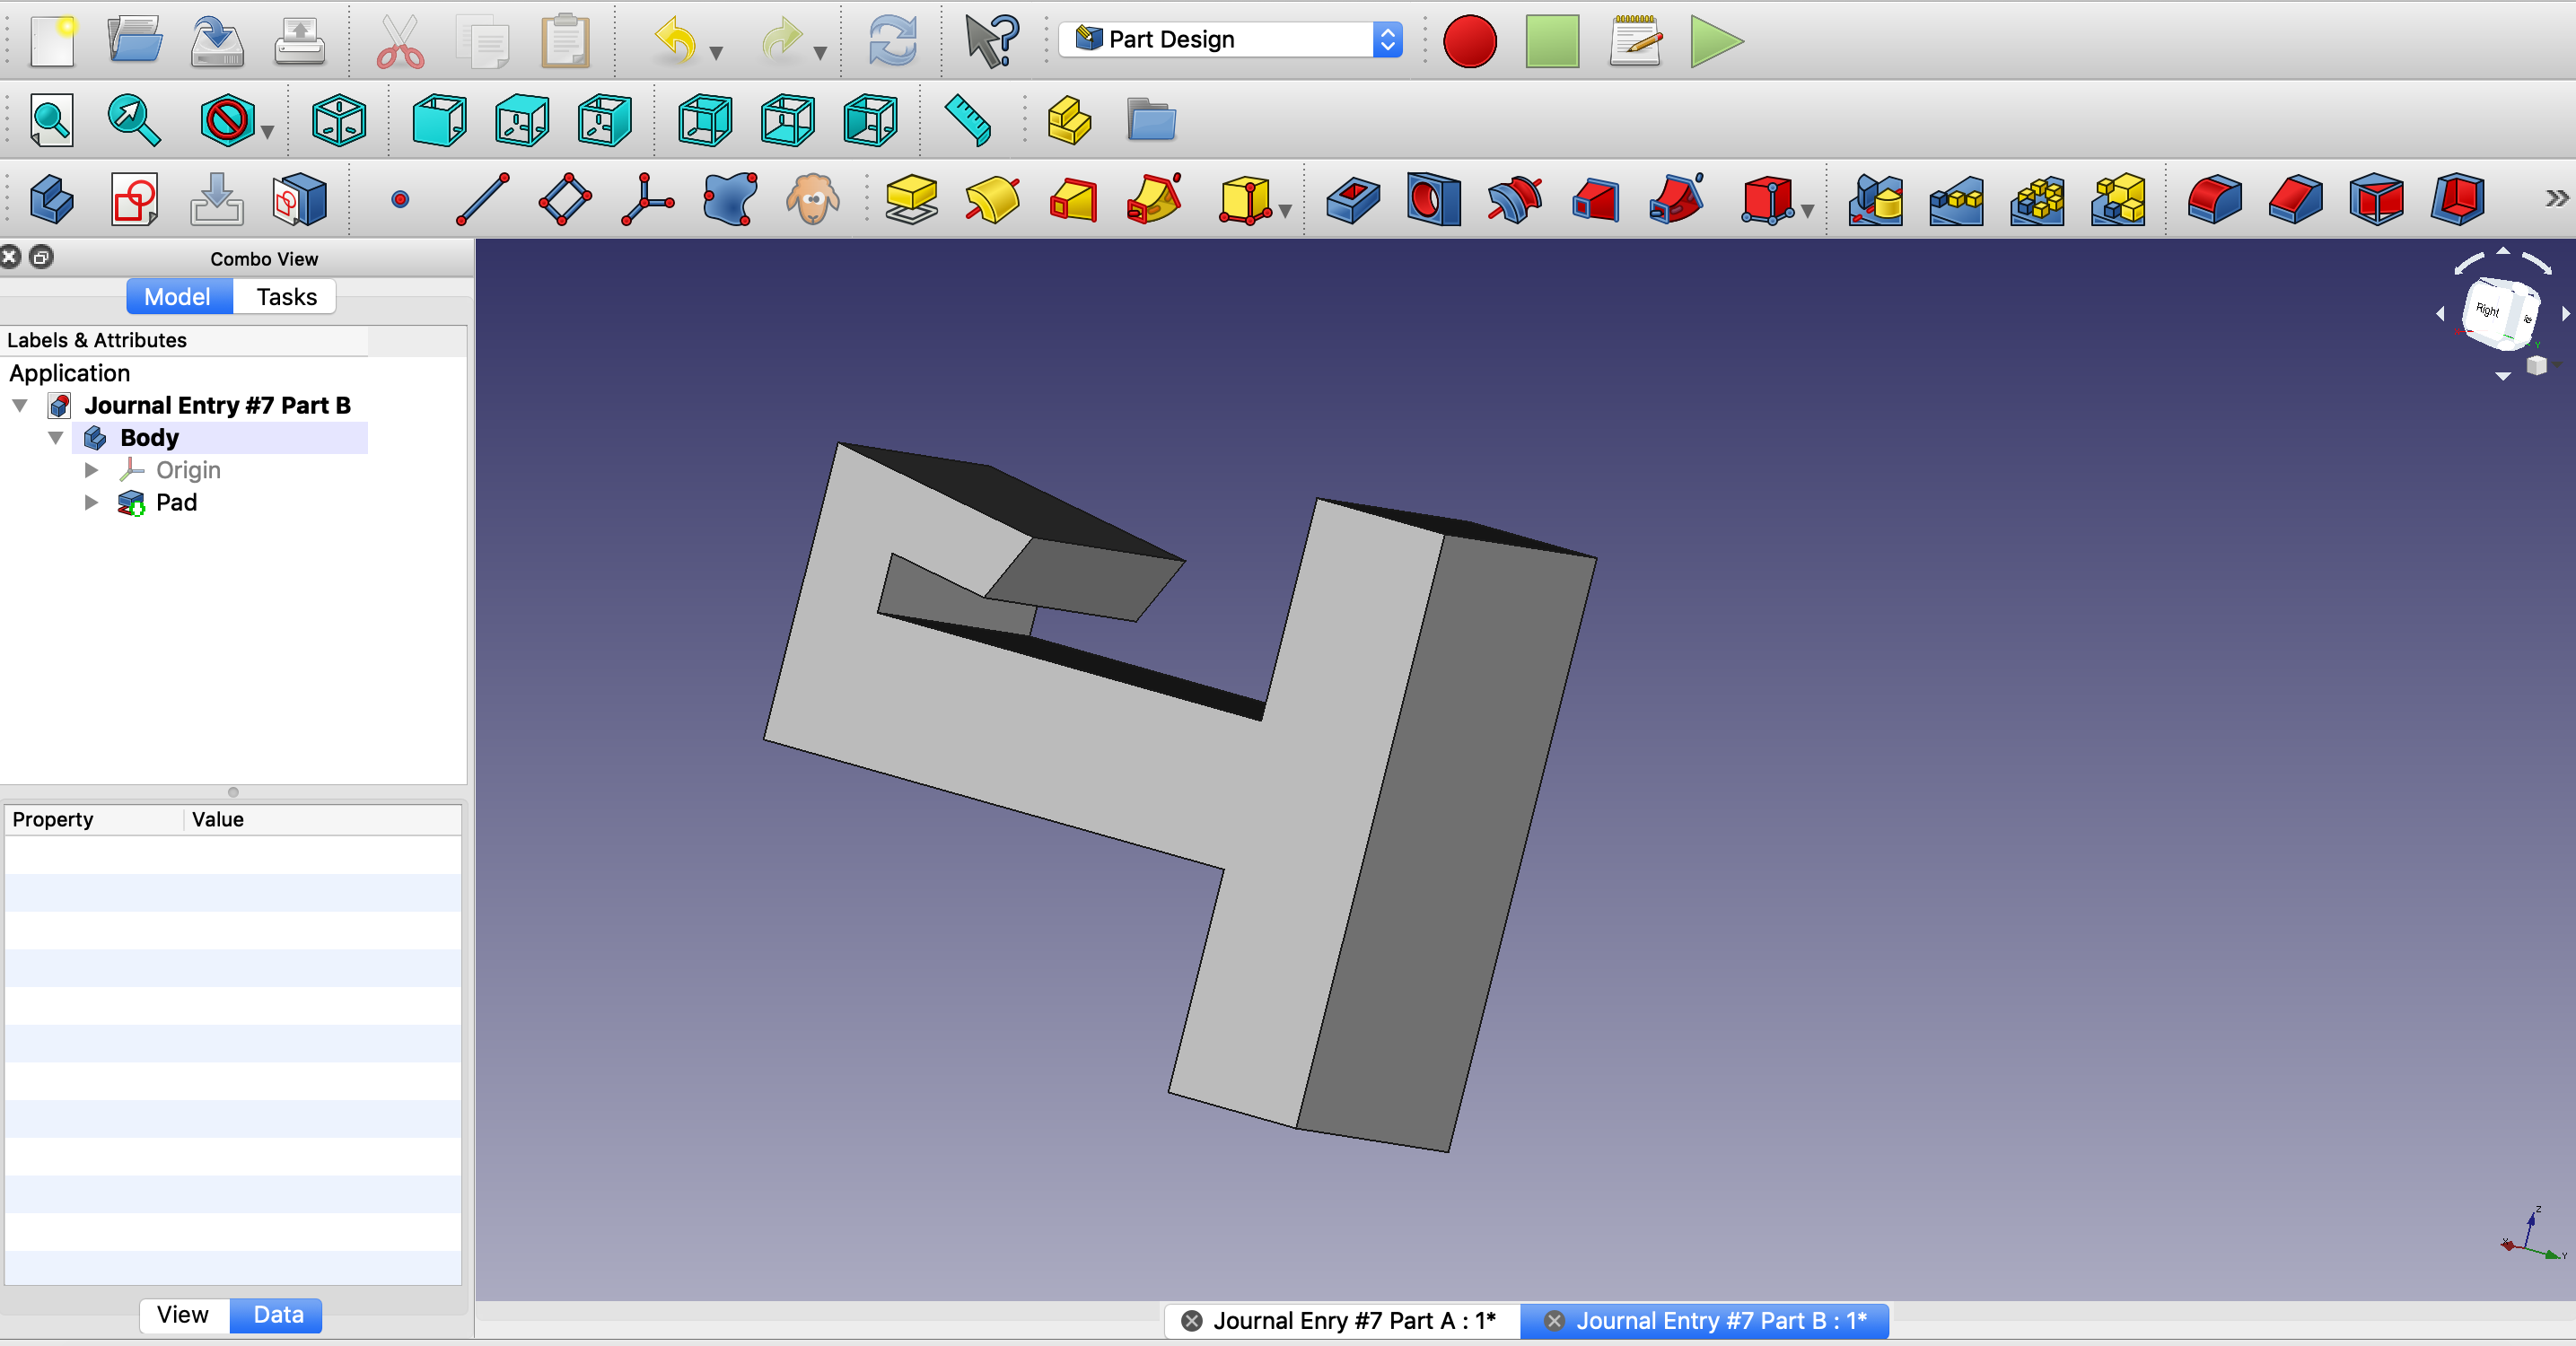
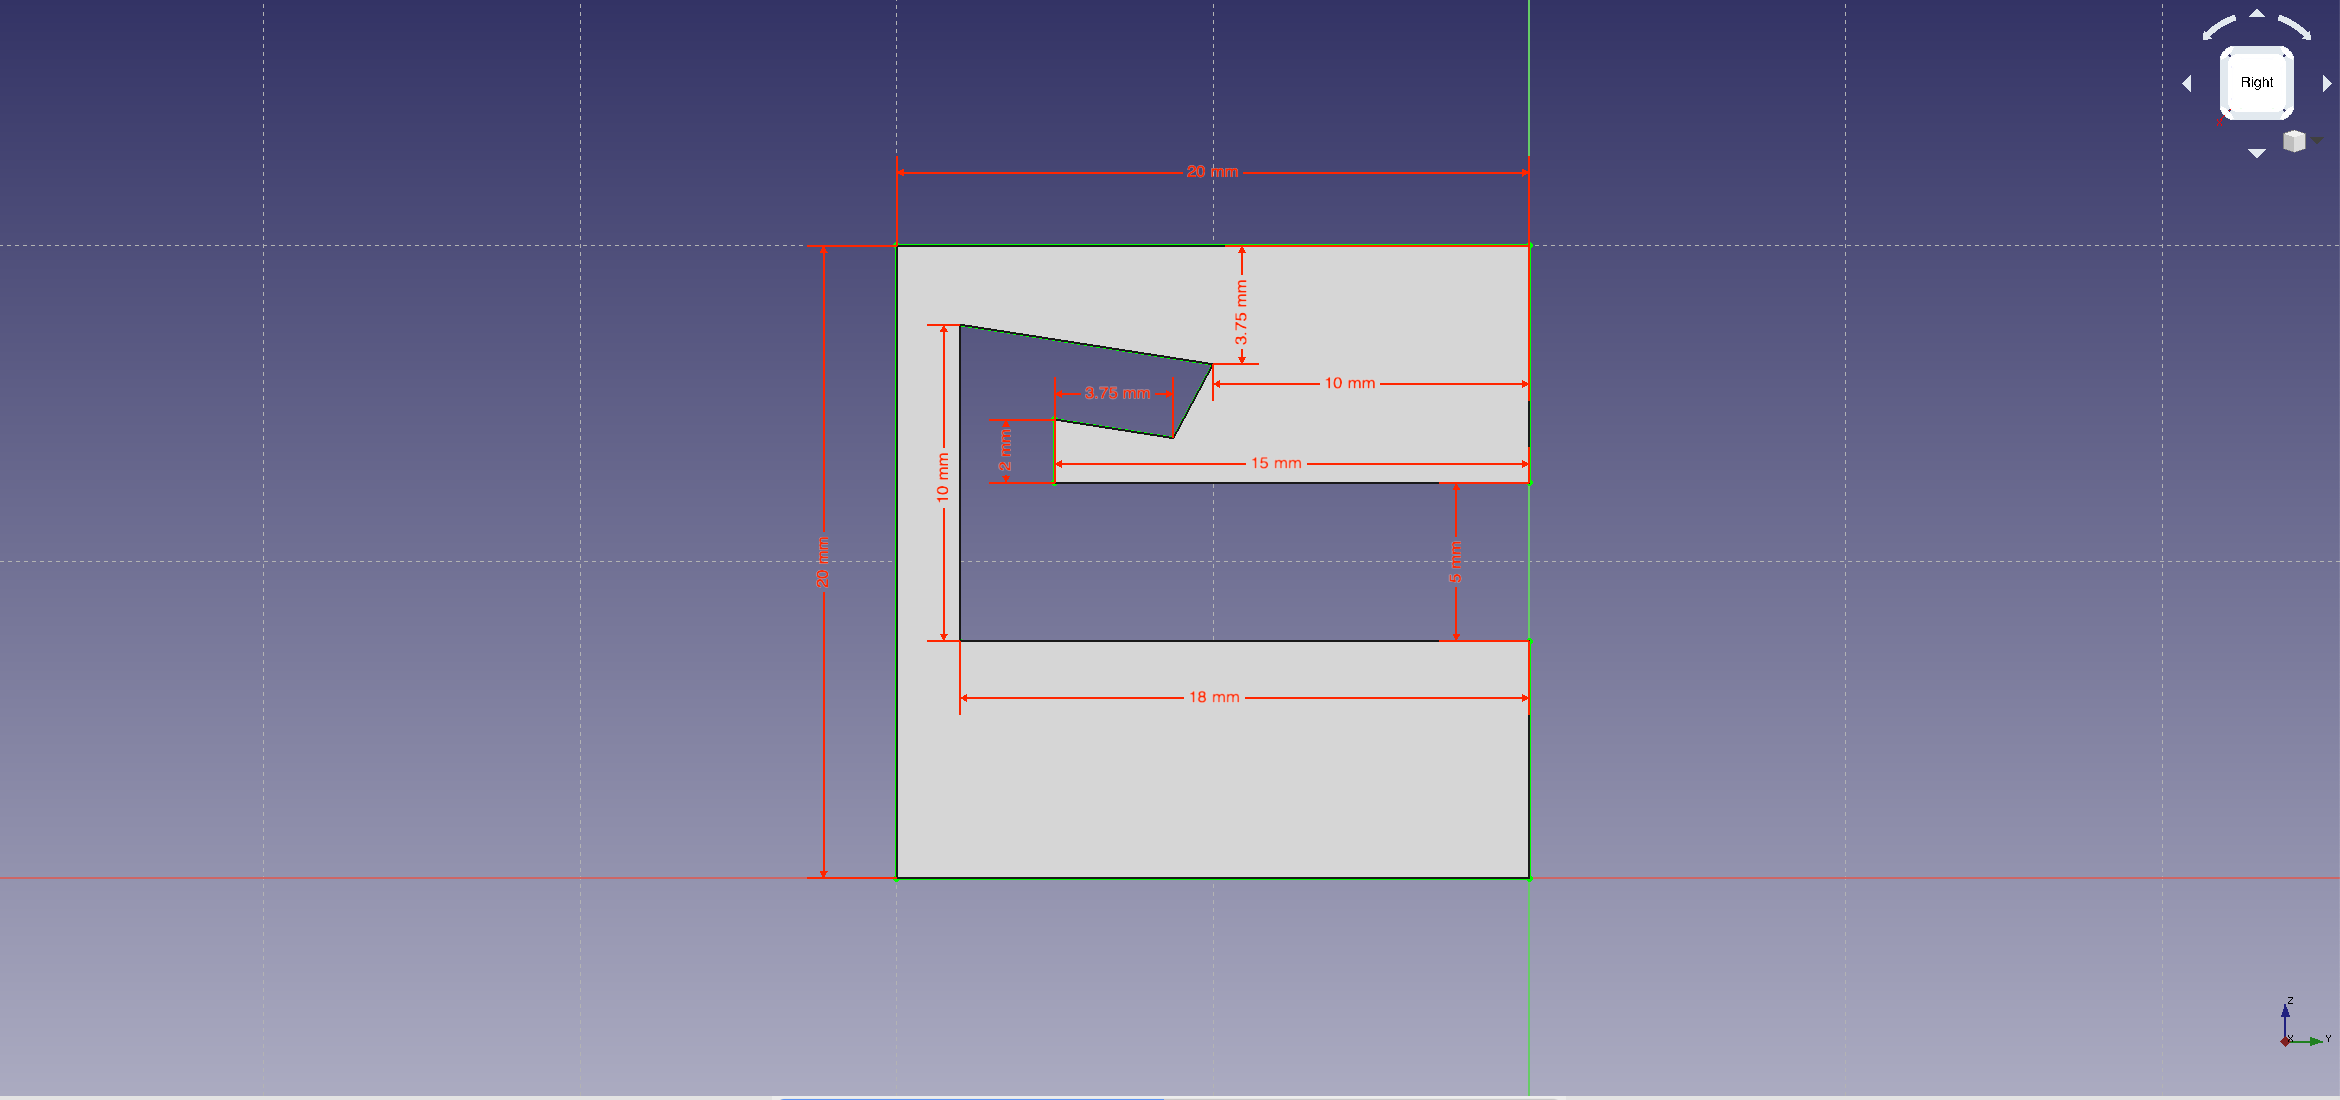
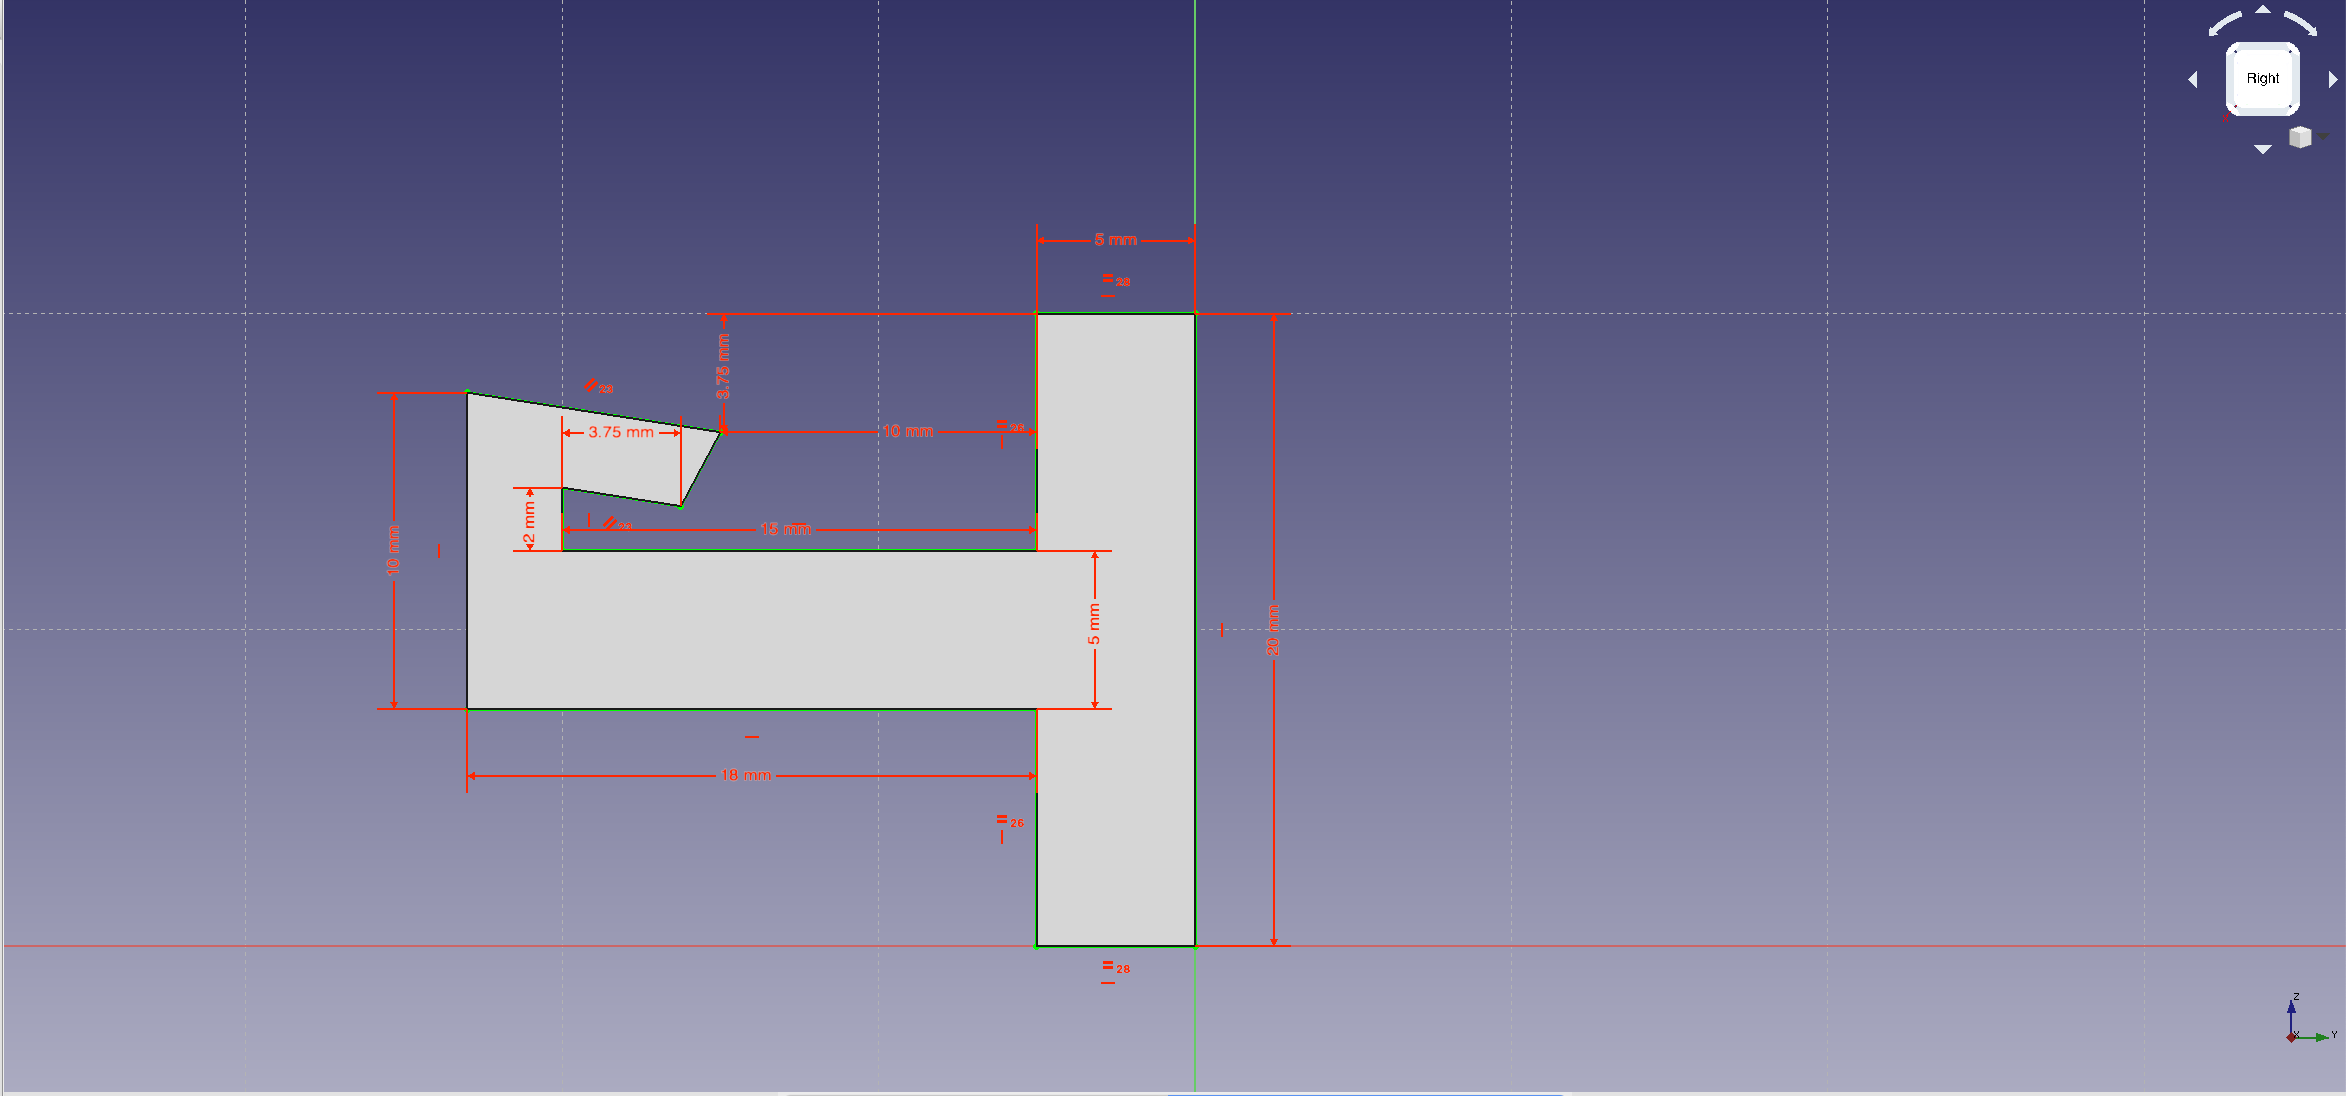
For the third part, this was pretty difficult. I couldn’t think of two objects or shapes that can do what the rubric wanted us to do. I ended up coming with this after an hour or so of researching and stuff. It’s kinda like a hook but intertwined with like “Snap on building materials”. The “hook” piece is the same exact dimensions as the “hook” outline in the other piece. So they should slide in together nicely and hopefully with the friction and resistance, they wont come out horizontally. But with this design, it also means that when the entire block is vertical or upside down, the two pieces wont come out vertially either.
The Start of 3D Modeling
So, i’m actually really excited about this part of class. Creating something out of your imagination and then being able to create it in real life is really cool and interesting to me. I can’t wait till we actually start printing but here is the 7 items that i created to the best of my ability.
Teamwork makes the Dream Work!
As the semester is chugging through, i have been assigned to Team A (6 people, including me) to work together on creating a in-depth app for a smartphone. So far, the team and I have created great ideas on what we want to create. Our app is a multi game app where we create 2-3 games in one app so the user is never really bored. We’re making headway, we’ve completed around 50% of the App and the deadline is in one week so were looking good. So far, the team has managed to create a working tic-tac-toe game with a functioning main menu screen. My job is to work on the second game for the app, a memory game. I haven’t started it yet because of how busy i am but i plan on starting it and completing before this weekend. Sadly, the team hasn’t been able to meetup any time after class as we all just can’t seem to find the right day and time. Hell, one of us is in Paris right now working on it. We hope to meet up sometime this weekend.
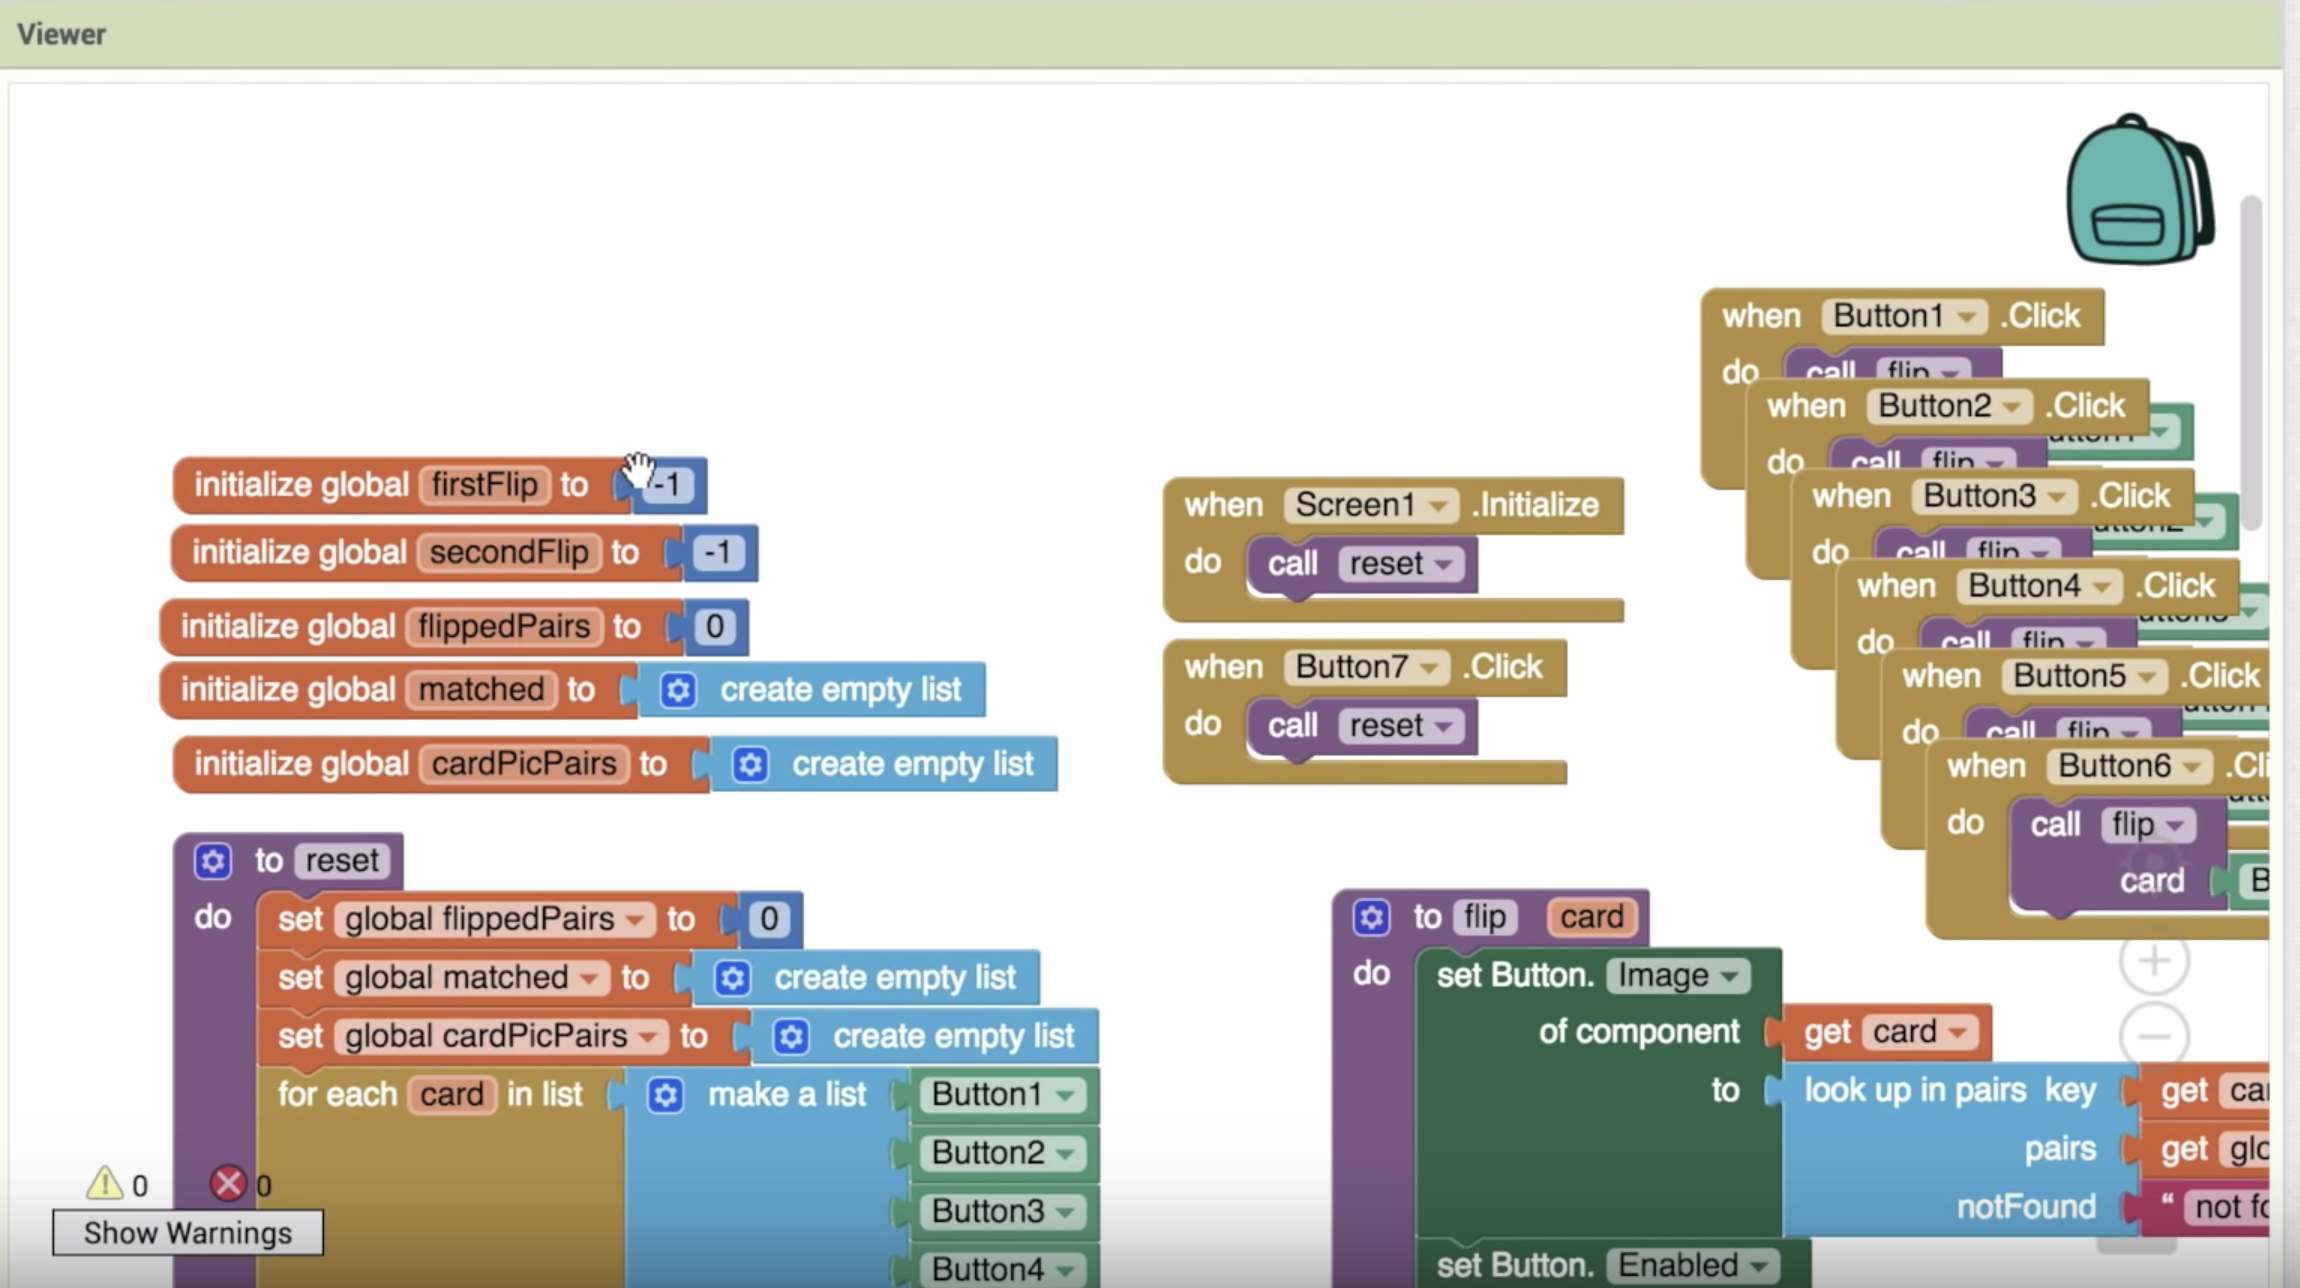
Working With App Inventor
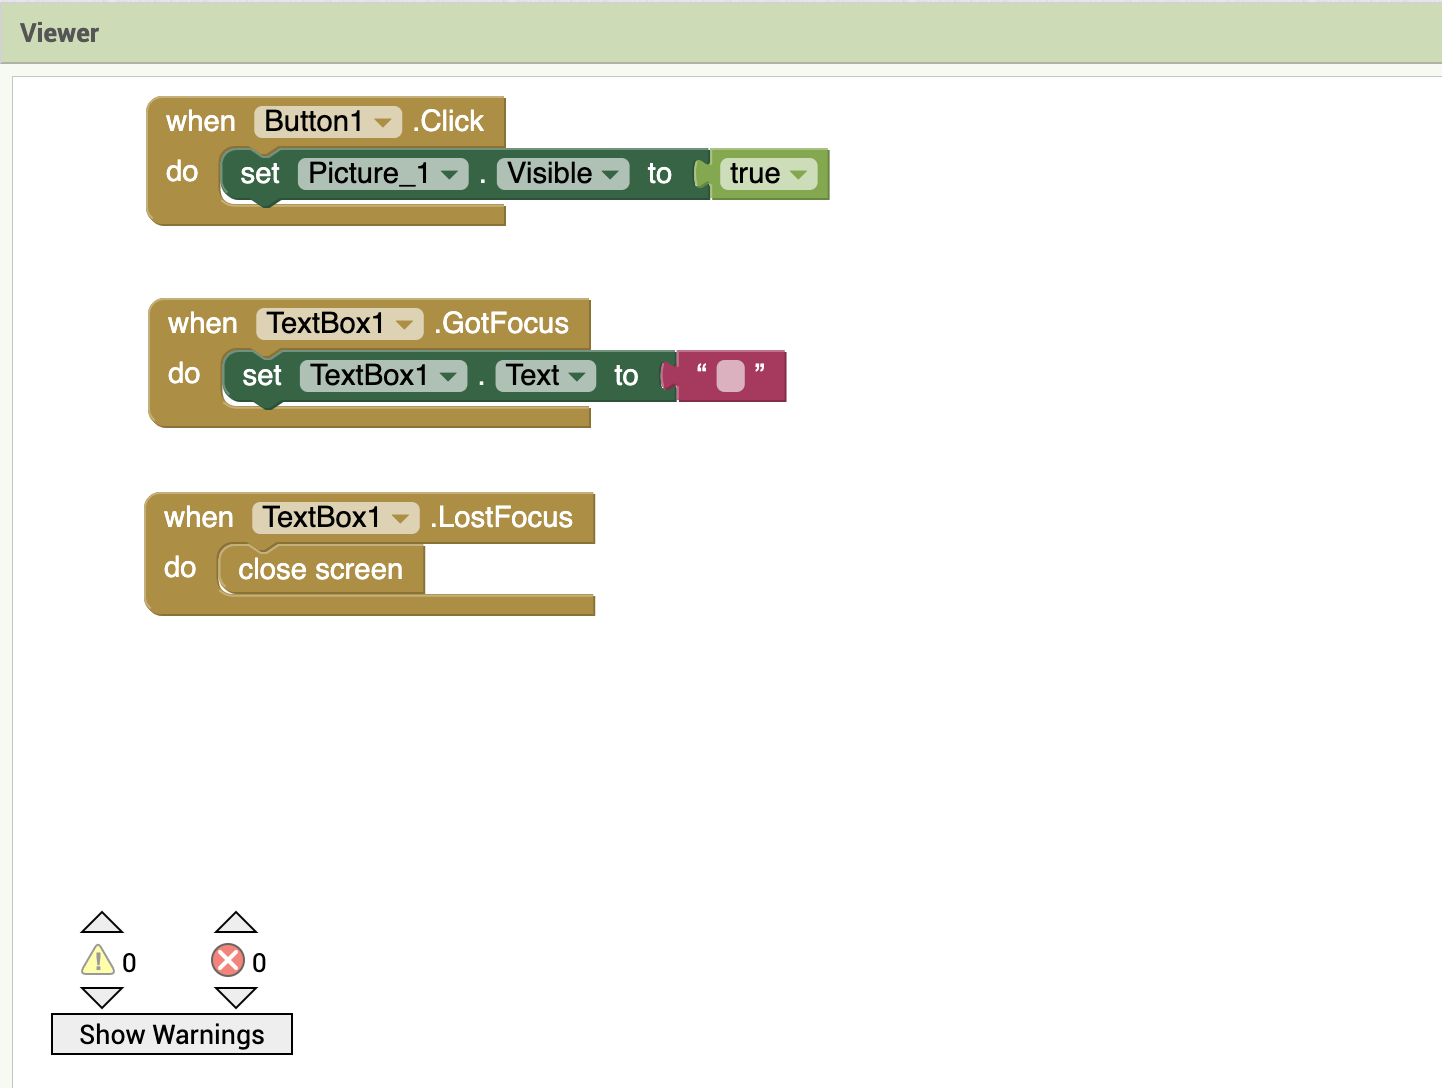
(Similar For Other Levels)
Working with this program gives me the thought of jumping off my balcony (Apartment is on the 3rd floor for reference). But, in any case. I fooled around with it for about 45 minutes or so. I decided to try and create a “Guess the Logo” game. However, thanks to its “blocks” this was extremely challenging. Putting the pictures and the text box and making it pretty wasn’t difficult, however, trying to set everything up that goes on behind the scenes was just awful. The blocks that you can click and drag into place just didn’t want to go in blocks i want them to go to. I attempted to create something where if the user put in the correct word for the picture, it takes you to the next level. App Inventor had other plans. In the end, i managed to come up with something basic and regardless of what the user puts into the box, when you click enter and close the text box it moves on to the next level. I think it would actually be a lot easier if i can just type in what i want the app to do instead of dragging blocks.

